Advertisement
Is your deck suddenly slippery underfoot? Here are three options for renewing the nonskid surface.
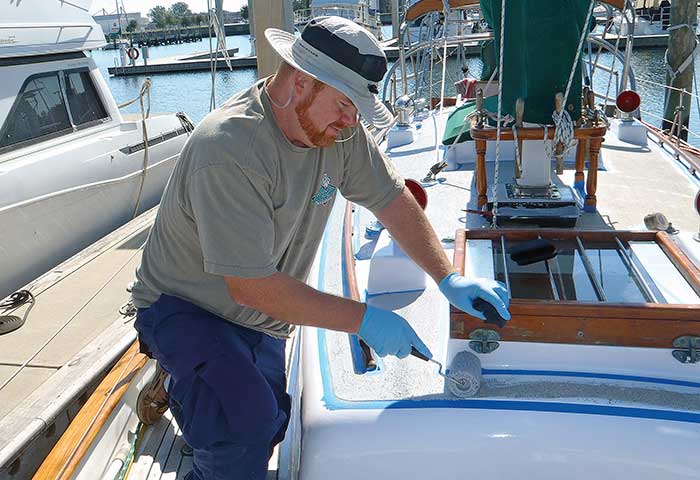
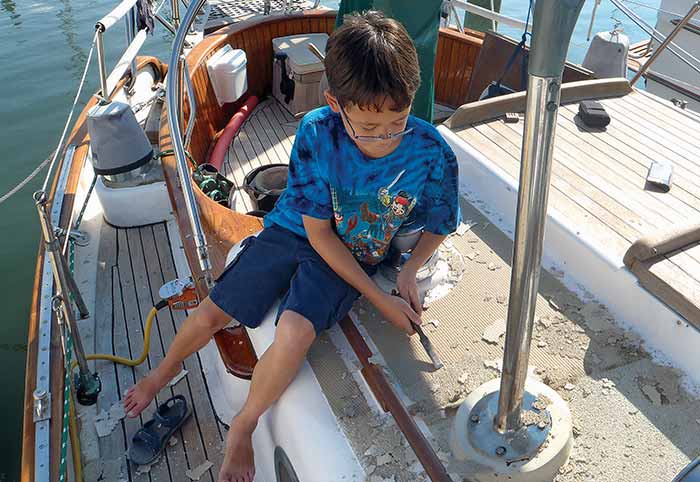
Nonskid must not only be effective and durable, but also ideally simple to install, easy to clean, and economical. (Photos: Frank Lanier)
There's nothing more hazardous than safety equipment that seems functional, but fails when needed the most. A good example is worn nonskid that provides adequate footing when dry, but becomes dangerously slippery during wet or stormy conditions.
When the factory-molded nonskid of a typical fiberglass boat becomes worn, owners have a number of aftermarket options to choose from, each with pros and cons to weigh in addition to their actual nonskid qualities. Considerations such as cost and durability are certainly important, but so are factors like ease of installation or cleaning when exposed to contaminants such as dirt or fish slime. The ultimate goal is a nonskid surface that not only addresses these concerns, but is also effective in extreme conditions while providing a good feel underfoot.
The most common nonskid replacement options can be loosely divided into three categories: deck paints with a grit material added for traction, deck paints featuring a textured surface, and nonskid mats or coverings that rely on some form of adhesive to mount them into place. Here's a quick look at some popular choices.
Grit-Type Nonskid
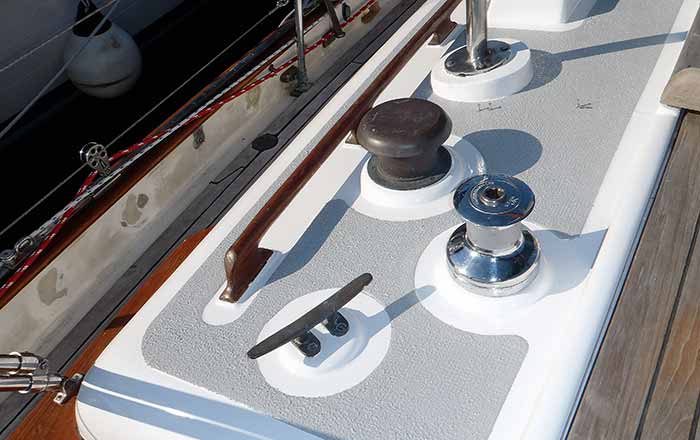
These are deck paints that use some form of "grit" or media to provide traction. Examples include anything from graded/sifted sand or crushed walnut shells to polymer beads. Larger, sharper grit produces the best traction, but it is also less friendly to bare feet or skin. Conversely, fine grit is less aggressive to skin, but provides less traction. Other considerations include one- or two-part paints (the former being cheaper, the latter being more durable) and color selection. Lighter colors are cooler but produce more glare and tend to show dirt more readily.
Larger, sharper grit produces the best traction, but it's also less friendly to bare feet or skin.
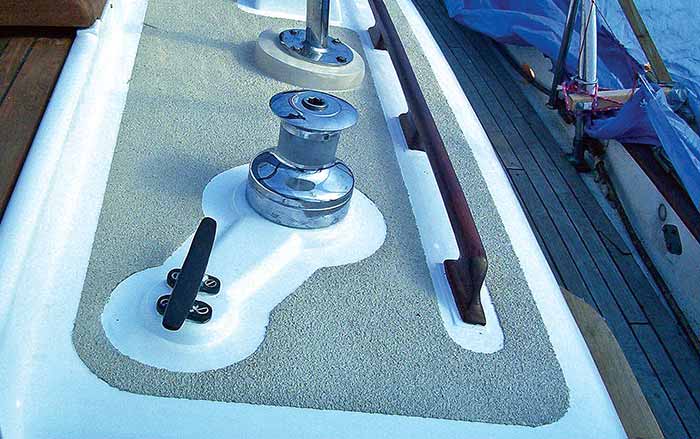
Depending on the product used, the grit itself can come premixed in nonskid paint or be sold as an additive for mixing into deck paint prior to application. Grit (e.g., sand, walnut shells) can also be sprinkled onto wet deck paint. Once this coat of paint is dry, excess grit is removed by sweeping or vacuuming. Additional coats of thinned paint are then applied to provide additional adhesion, as well as the appropriate color.
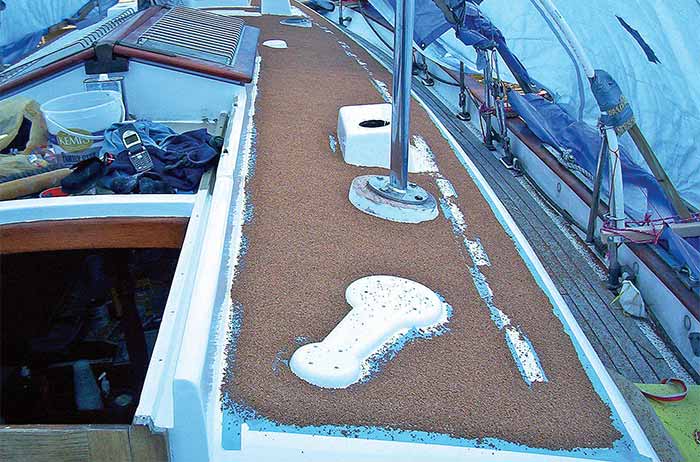
Some grit-type nonskid (such as sifted sand or ground walnut shells) are sprinkled onto wet deck paint.
Products such as Durabak, Epifanes Nonskid Deck Coating, Interlux Interdeck, and Pettit EZ-Decks are all examples of premixed nonskid paint. Modern nonskid additives include Awlgrip Griptex (a polymer-bead aggregate that comes in fine, coarse, and extra-coarse grades) and Epifanes Nonskid Beads, a premeasured polymer-bead compound sold for mixing with Epifanes polyurethane and monourethane paints.
Textured Deck Paints
Textured deck paints get their traction from the raised patterns created by using a special roller sleeve during application. As the nonskid property is provided by the texture of the paint itself (rather than suspended grit or other filler media), there's no worry about the paint wearing down over time and releasing the nonskid material.
Raised patterns from a special roller sleeve give textured deck paint its traction.
Nonskid Mats And Coverings
Nonskid mats and coverings are a popular choice due to their traction, stain resistance, low maintenance, and availability in a wide variety of colors and finishes (including faux teak). Their cushiony nature provides a modicum of shock absorption (increasing comfort underfoot) and noise reduction. Ease of installation lets even the DIYer achieve a custom look whether installing smaller self-trimmed mats or template-made kits covering an entire deck.
Popular examples include Treadmaster, SeaDek, and Esthec Nautical decking. Treadmaster and Esthec panels are glued in place using a manufacturer supplied, user-applied adhesive. SeaDek uses marine-grade 3M pressure-sensitive adhesive backing, allowing you to simply peel and stick panels in place.
Cost-wise, nonskid mats and deck coverings are typically more expensive than paints, but they also provide more customization with regard to design patterns and color options.
Installation Tips
While these will vary widely depending on the nonskid you choose, here are basic tips that can be applied to most any nonskid installation.
- Prep the surface per the manufacturer. If existing factory-molded nonskid is simply worn, wash the deck with a mild boat soap to remove dirt, grease, and other contaminants, and allow it to dry in preparation for sanding.
- If the deck has old, failing nonskid, it will need to be removed prior to the new installation. Grit-style nonskid has to be removed (typically by sanding), while nonskid mats or pads need to be pulled up and any remaining adhesive material removed.
- Once the old nonskid is removed, sand the deck with an orbital sander using 60 grit paper to level the area and scuff the old surface. Finish with 120 grit, vacuum up any dust, and wipe down the surface with a rag and 202 Fiberglass Solvent Wash, replacing the cloth as it picks up residue.
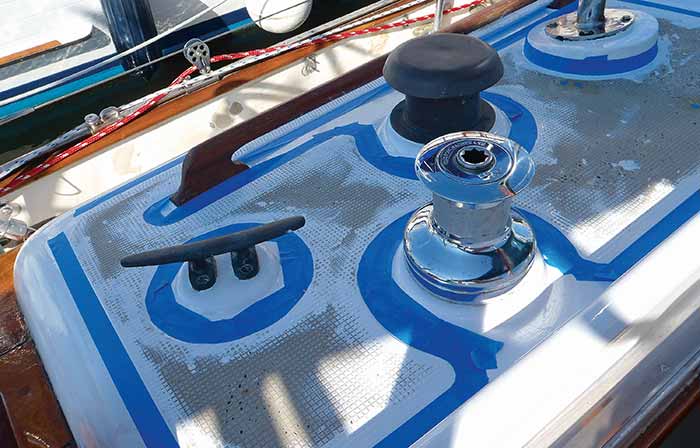
- Good taping helps ensure good results. Careful masking (i.e., straight lines, curved corners) when applying nonskid paint will help give your finished project a professional look. For cleaner edges, allow paint to set up for about 30 minutes before removing the masking tape. Don't wait until fully dry, however, as the tape will be more difficult to remove and may "tear" the paint.