Advertisement
Take good care of it, keep it tuned up, and this workhorse will take good care of your back.
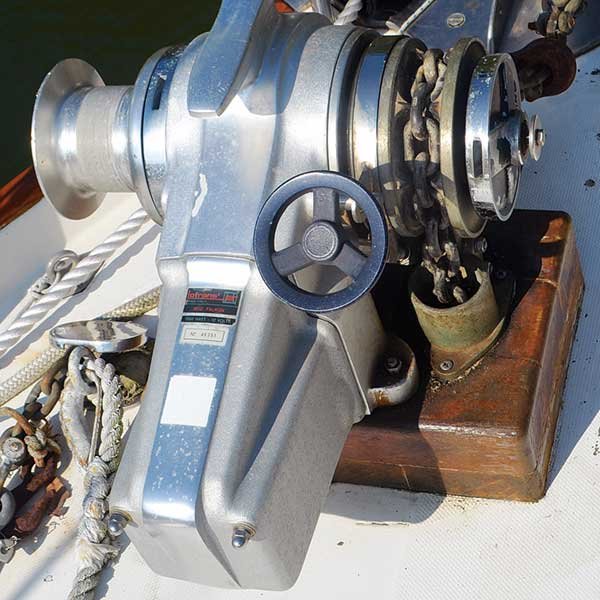
Photo: Mark Corke
There are many different types of anchor windlasses. Mine has a 12-volt motor, a clutch for free-wheeling, a brake, and a manual-operation override. Yours may have just one or more of these features. No matter what kind you have, the info in this article will be helpful. My Lofrans Falcon windlass has seen more than 18 years of hard duty and has been used almost every night in many conditions, including hurricanes, tropical storms, "storms of the century," and even a tornado.
Use a clean white towel to lay out your parts in the order in which they were removed. Try to work on only one feature at a time. The towel should have weights if there is wind. Use containers for the small parts, or several containers corresponding to the order of removal. Containers should be weighted down so they won't blow away in wind gusts.
Disconnect electricity by turning off the main breaker to the windlass or flipping the main battery switch.
-
STEP 1
Secure anchor to a cleat with chain hook or other means, leaving it free from windlass and out of the way. Use large nail or Phillips-head screwdriver to prevent chain from feeding back down chain hole.
-
STEP 2
Inspect the clutch wheel, clutch cones, brake, and chain-wheel assembly.
-
STEP 3
Remove or reposition chain stripper. When you redo this, be sure stripper is not touching the wheel and is centered in groove.
-
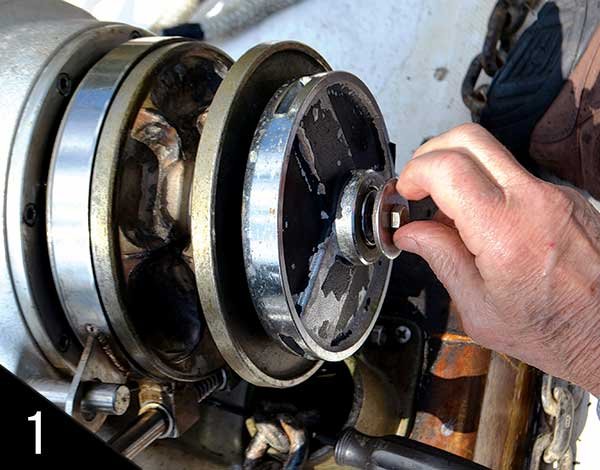
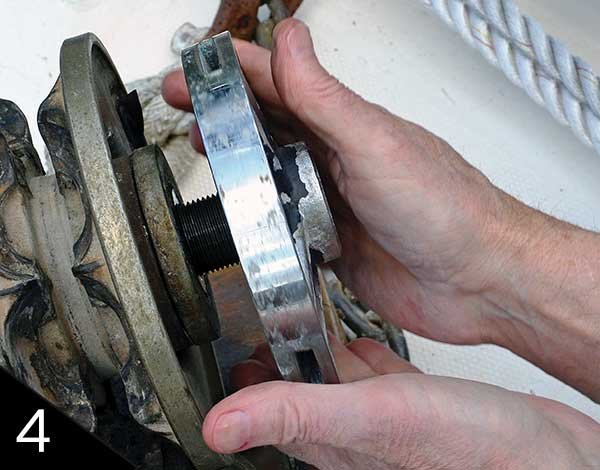
STEP 4
Remove bolt and washers securing clutch control wheel and remove it.
-
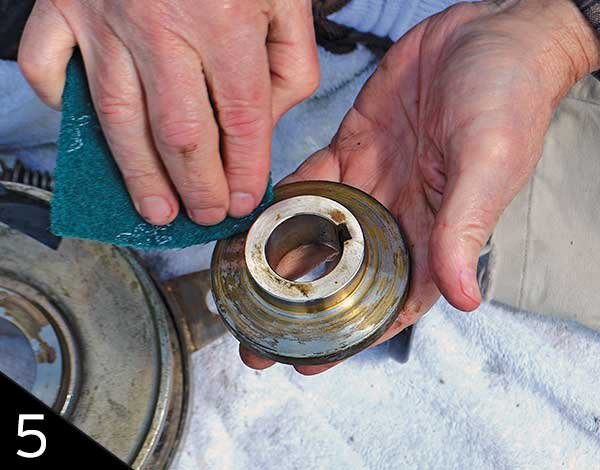
STEP 5
Remove outer clutch cone and clean using degreaser, rag, and ScotchBrite pad, if needed. Remove old grease, salt, sand, and other residue.
-
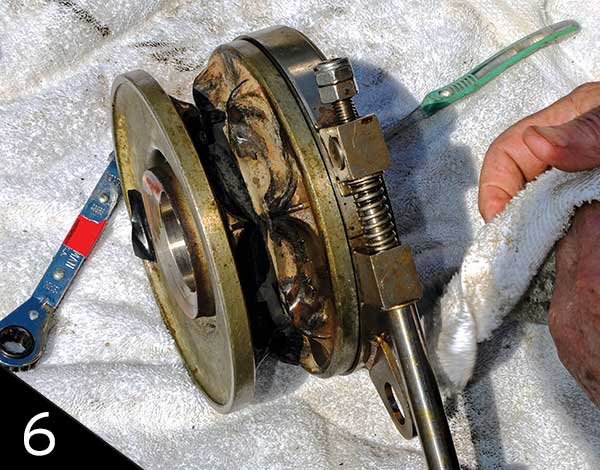
STEP 6
Remove chain wheel and brake assembly.
-
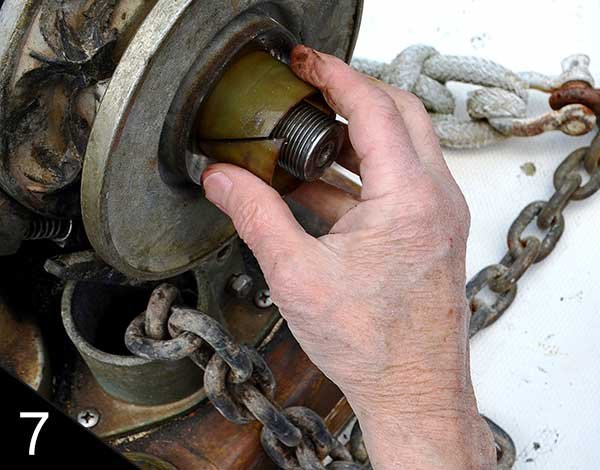
STEP 7
Carefully remove, clean, and lightly grease any plastic, Delrin, or similar spacers.
-
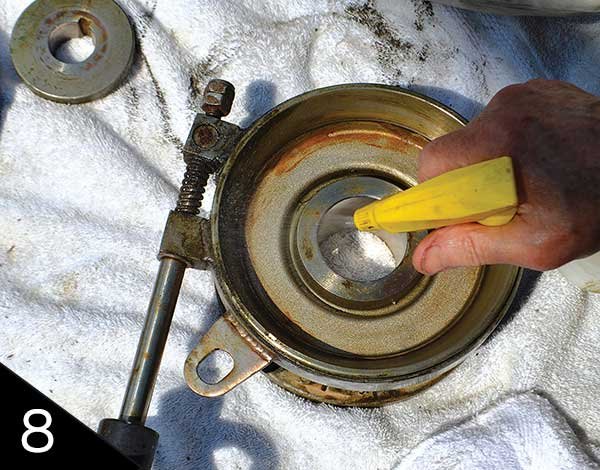
STEP 8
Clean mating surface for outside clutch cone on outside of chain wheel. Check for excess scoring on all mating surfaces.
-
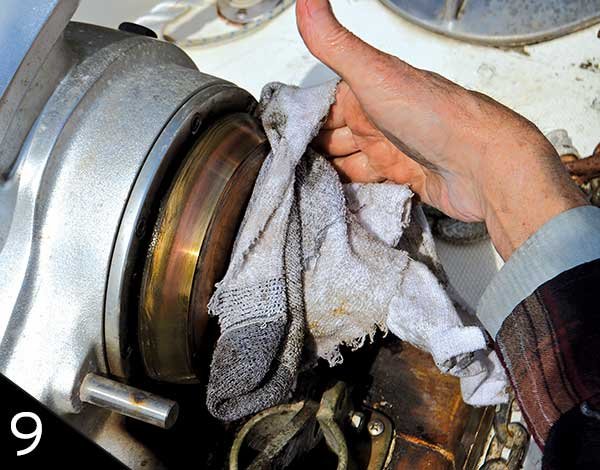
STEP 9
Clean inner clutch wheel and check as above.
-
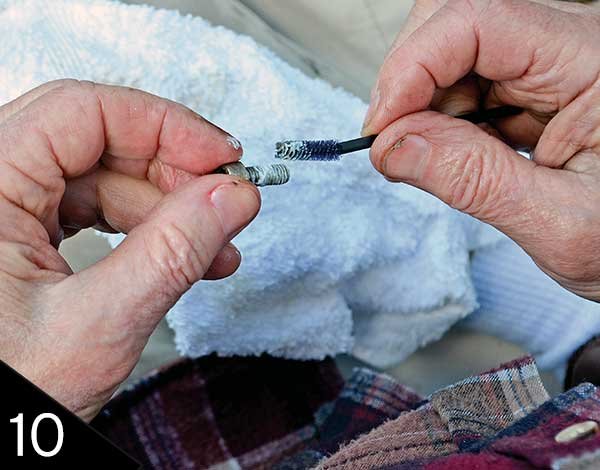
STEP 10
If there are any stainless-steel bolts or screws threaded into aluminum, remove and clean them and apply Tef-Gel to threads. Do one at a time to avoid accidentally opening gear box, unless you are experiencing problems from within.
-
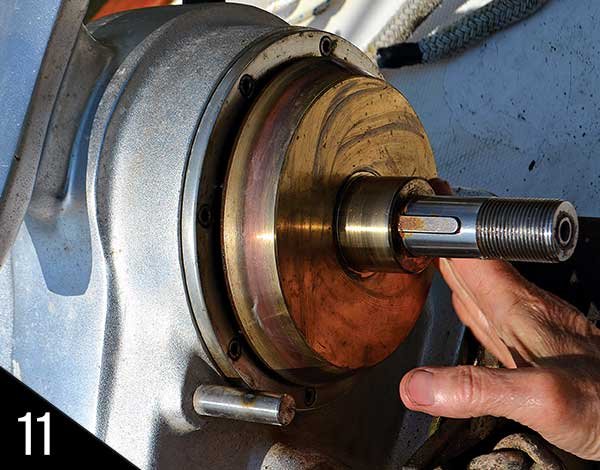
STEP 11
Lightly grease the inner clutch mating surfaces with white lithium grease or other recommended product.
-
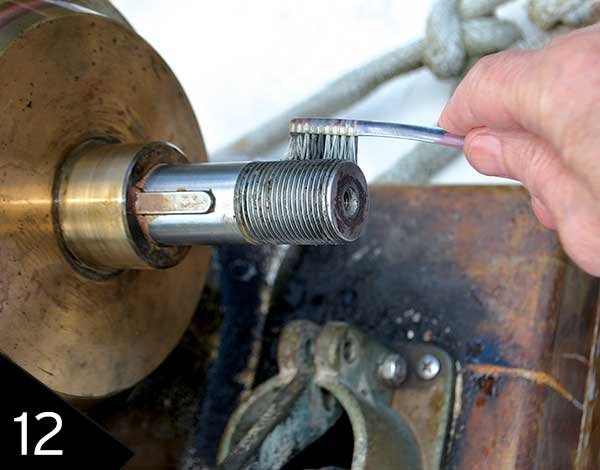
STEP 12
Clean shaft, using toothbrush on threads.
-
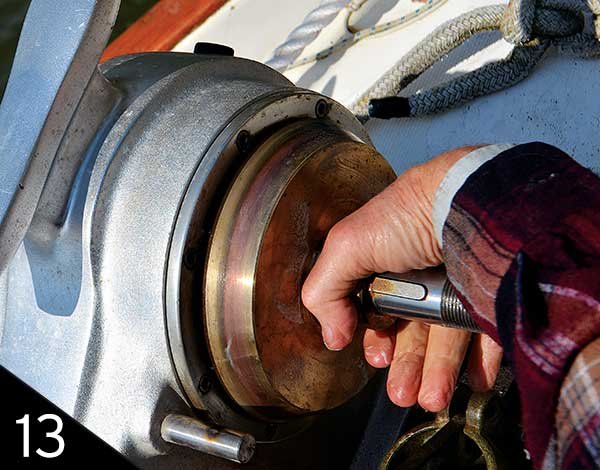
STEP 13
Lightly grease shaft.
-
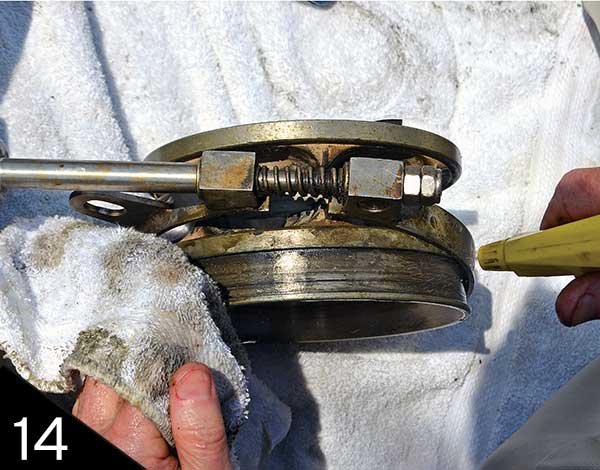
STEP 14
Dissemble and clean the brake band and the metal surface underneath. Check for scoring. Don't grease brake surfaces. Leave dry. Reassemble all parts in the order that they were removed, and check the operation of the windlass. Now we dig deeper, dealing with routine maintenance of the motor and of the manual over-ride mechanism for an electric windlass. If yours is a manual-only unit, this is essentially the same mechanism.
-
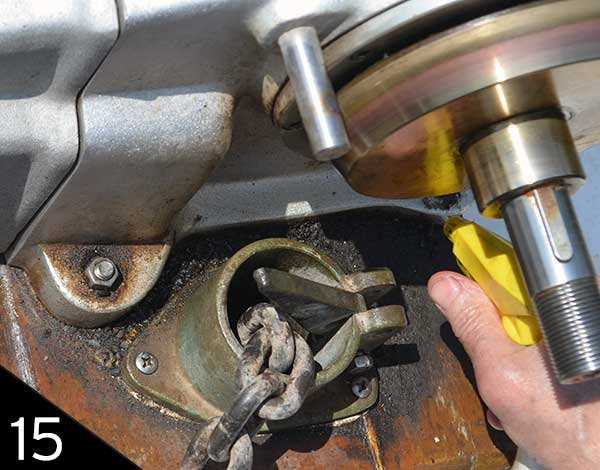
STEP 15
Clean mud from crevices around the base. Some recommend that the entire windlass be removed from the deck to check for salt corrosion.
-
STEP 16
If the motor is on deck (horizontal windlasses), remove the cover, inspect, and if needed renew the very critical gasket or O ring that keeps water out. Augment gasket or O ring seal with grease such as Raritan's Super Lube which won't harm rubber.
-
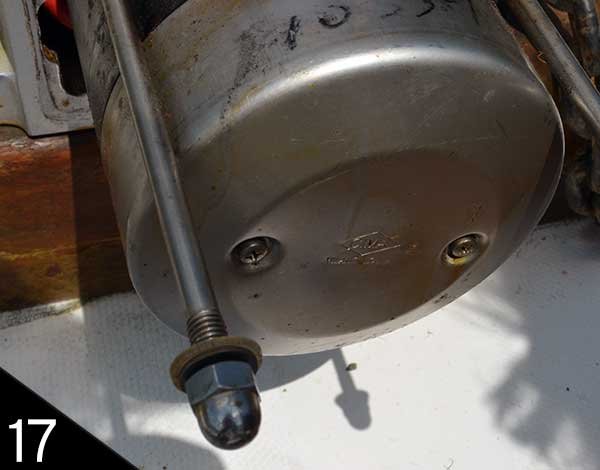
STEP 17
Check for rust or signs of water intrusion. Spray with a light coating of Corrosion Block or similar product over motor to ward off future rust.
-
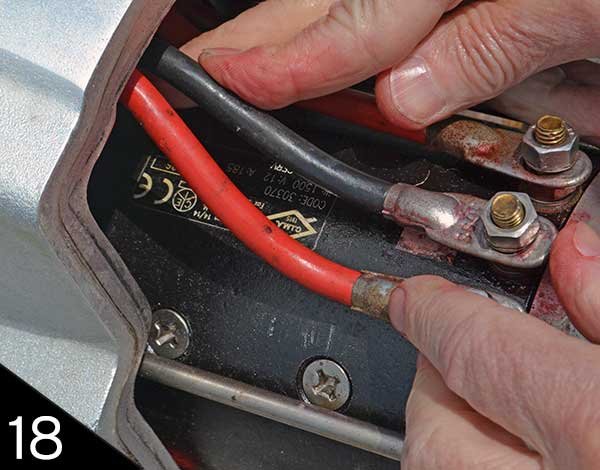
STEP 18
Check that the wires are not overly stressed at their connections. Check for wire chafe. If there is, the wire run is probably done improperly.
-
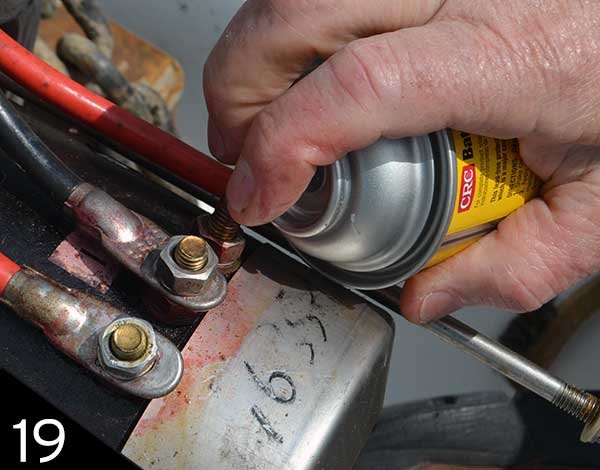
STEP 19
Check that terminals for wires are tight and clean of corrosion. Apply terminal grease.
-
STEP 20
If needed, renew Delrin washers between stainless fasteners and aluminum body. If the windlass is vertical with the motor under the deck, check for water intrusion past the shaft and seals, spray Corrosion Block onto motor, and check terminals as above. It may be advisable to drop the motor from the shaft to assure there is no water intrusion running down the shaft, as this could be a very serious problem.
-
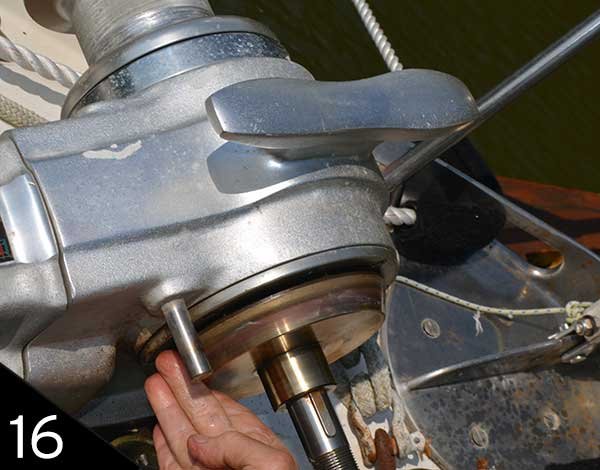
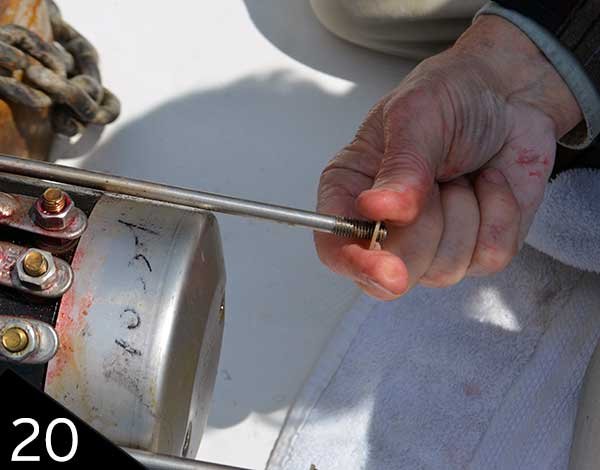
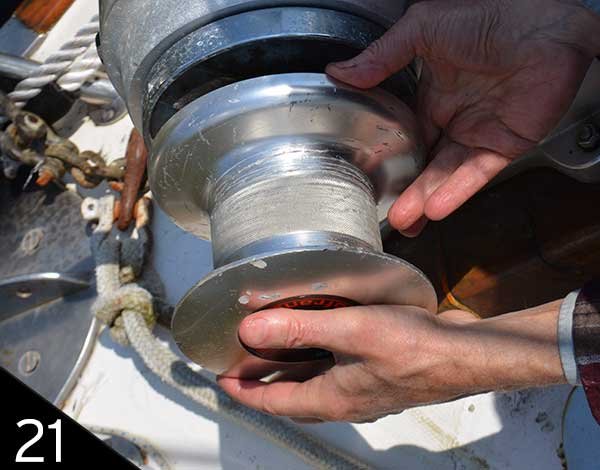
STEP 21
Remove rope wheel on opposite side and manual over-ride wheel.
-
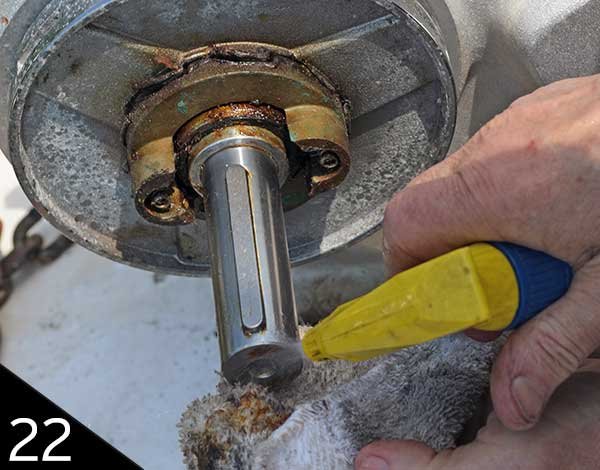
STEP 22
Clean rope wheel shaft.
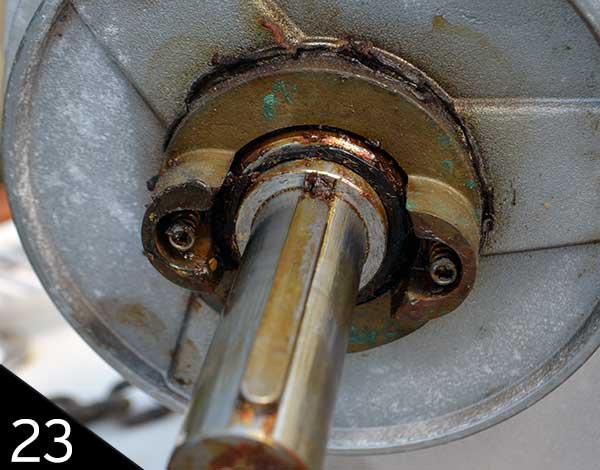
-
STEP 23
Take care to not loose dog (pawl) springs.
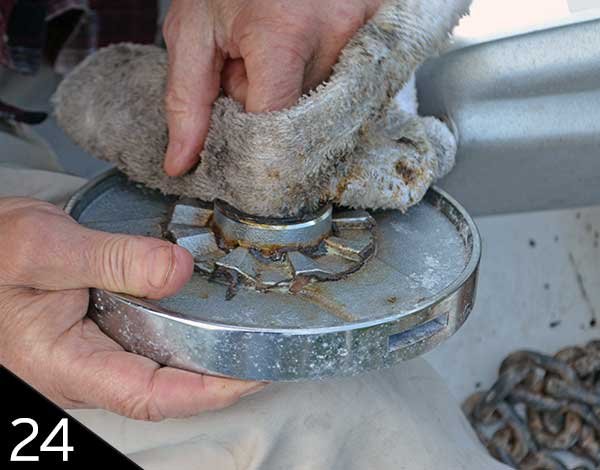
-
STEP 24
Inspect and clean dog clutch system (pawls) which provide for manual over ride.
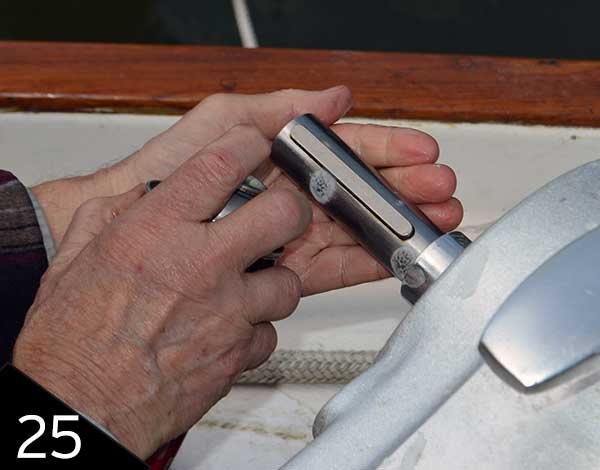
-
STEP 25
Clean and grease shaft.
-
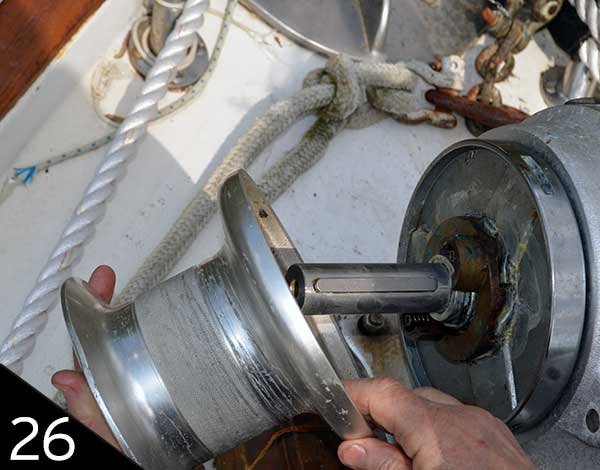
STEP 26
Make sure the dog goes back in place and make sure the rope wheel is pushed outward by the springs as you reinstall it. If it isn't you've got it wrongly positioned.


Inspect, clean, grease and tighten connections on solenoid, which is often in the damp salty space under forepeak.
Check connections for your hand switch. The connection port should be well sealed with a rubber or other cap and lubricated with a product such as dielectric electrical connection grease to help prevent corrosion of the contacts and the wiring underneath. This wiring behind the switch should also be checked for wiring and terminal corrosion. If you have foot switches, check for signs of gasket seal deterioration, cracked seal and intrusion of water with resulting rust under the deck. Remove the cover plate to do this, but carefully reassemble. Have spare rubber cover handy. Apply anti-corrosion grease or dielectric grease as appropriate.
Check oil in sight glass. Add standard 90-weight gear oil or one recommended by the manufacturer to the level recommended in the manual. If there is leakage around the shaft seals on either side or the worm gear shaft for the motor, consider replacing seals, but this is beyond the scope of this article. Normally these seals should last a long time and a slight amount of seepage isn't necessarily a problem as long as you check the sight glass periodically. If the oil is gooey or milky, as from intrusion of water, it should be drained and replaced. If you feel tiny particulate in it as you rub a sample between your thumb and forefinger, there is likely a problem inside with the gear alignment or other issues, which again would be unusual and beyond the scope of this article, but which should be addressed. If you can't easily drain oil or check it for grit, a small diameter flexible metal coat hanger with plastic coating can probably be carefully inserted into the box from the oil adding port and down into the oil. This will serve as a dipstick, bringing up some oil for you inspection.
Tech Support
Degree Of Difficulty
Tools
- A 3M ScotchBrite pad
- Toothbrush and stainless-steel wire brush
- Windlass manual, which should include a schematic
- A degreasing product, such as WD-40
Materials
- Tef-Gel
- Safe grease for rubber gaskets, such as Raritan Super Lube
- White lithium grease or other recommended grease
- A spare-parts kit in case you need parts
- A white towel on which to spread parts
- Several clean white rags
Time
This project will take approximately 4-5 hours
Cost
Approximately $15 + Parts
BoatUS Members save at Boat Shows
Make sure to mark your calendars for two exciting events! The code for both shows is 25BOATUS (not case sensitive). This is a $5 discount that applies to Preview Day, General Admission, Preview Combo, and General Admission Combo tickets.