Advertisement
Whether to attract fish or just for show, installing underwater lights adds some bling to your boat.
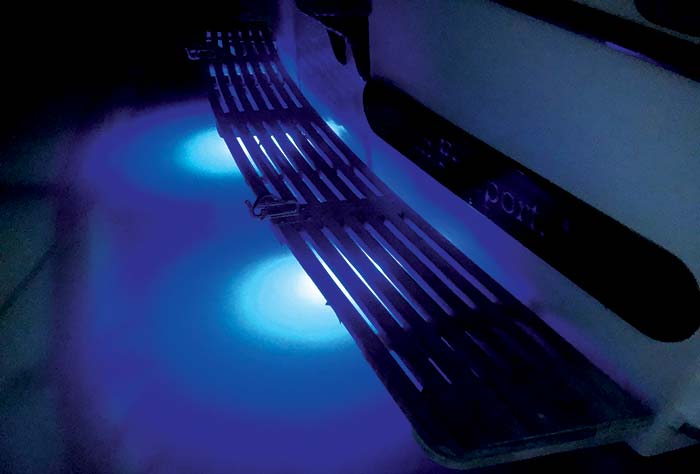
Let's face it, there is no need to install underwater lights. They won't make your boat go any faster or handle better … but boy do they look cool! I confess that I had shied away from putting underwater lights on my boat, thinking them a frivolous waste of time and money. I'd seen the large yachts at boat shows with the waterline all lit up, but thought that look wasn't for me — until someone gave me a couple as a gift. So I bit the bullet and installed them while my boat was hauled for some routine maintenance.
Tip
Visit BoatUS.com/Picking-Boat-Sealant to learn more about marine mastics and adhesives.
Some transoms have a slight curvature. A generous bead of manufacturer-recommend mastic behind the mounting flange should take care of any discrepancy between the two mounting surfaces.
You have many options when choosing underwater lights — most noticeably LED or tungsten. LED lights have a longer life than tungsten, don't get hot, and have lower power draw. These are all good reasons for picking LED. You'll also need to decide on the color of the emitted light: Generally blue, green, or white are your options. Blue travels farthest in saltwater, green is best for freshwater, and white is best for attracting fish. Note that blue underwater lights are illegal in some places, so check local ordinances for your boating area.
My boat is solid fiberglass below the waterline, but your boat may not be. In that case, you will need to seal the core to prevent water intrusion (see "Cored Hull Care" below). Even if you have solid fiberglass, you'll need to seal the open edges of the hull cut with epoxy or another impervious coating to prevent possible water migration into unprotected glass should water seep past the light's seal.
Cored Hull Care
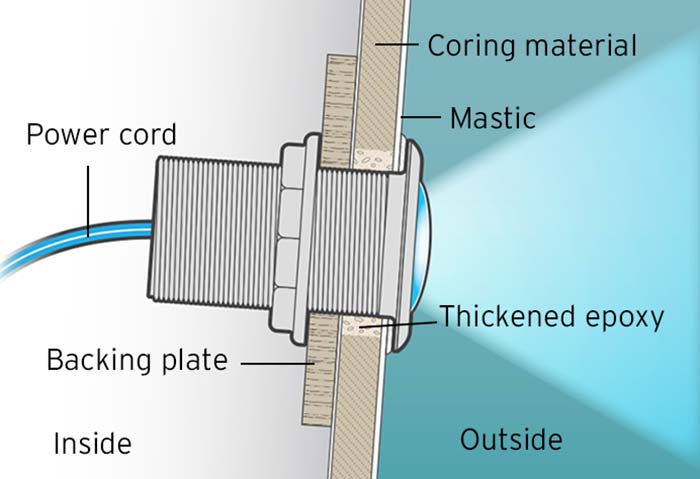
Fitting underwater lights in a cored hull presents some unique challenges and requires a little additional work. Although it may be tempting to simply drill a hole through the boat and fit the lights, water can find its way into the coring, eventually damaging the boat's structure.
If your boat has a cored hull, drill through as outlined in the step-by-step instructions in this article, then use a sharp instrument to dig out the coring material about an inch back all around from the edge of the hole. Vacuum and clean out the hole thoroughly. Mix up some epoxy and colloidal silica to a peanut butter consistency and force this into the void you created until it is even with the edge of the hole. Leave it overnight to cure, trim if needed, and finish the installation as outlined in this article.
Note, too, that normally you would install a backing pad behind any hull penetrations. In this case, the light manufacturer said this was unnecessary because the retaining nut is only hand tight. Therefore pressure against the hull is minimal, and the light is effectively held in place with the special adhesive sealant mastic recommended in the instructions.
Follow The Rules
Don't let your boat's underwater lights confuse other boaters. The U.S. Coast Guard COLREGS (also known as the "Rules of the Road" for boaters) require that a boat avoid displaying any light that could be confused as another navigation light or another vessel. And remember, flashing blue lights are reserved for law enforcement — at a distance, wave action combined with the steady rocking of below-the-waterline high-intensity blue lights can give the appearance of a police vessel.
In addition to the steps below, a large portion of the work time will be taken up with the wiring. Be sure to closely follow the recommendations that come with your lights with regard to wire- and circuit breaker sizing.
Tech Support
Difficulty: Moderate to advanced
Tools:
- Pencil
- Tape measure
- Holesaw
- Electric drill
- Scraper
- Respirator
Materials:
- Lights
- Adhesive sealant or mastic
- Rags
- Sandpaper
Time: Two hours per light
Cost: $450 per light
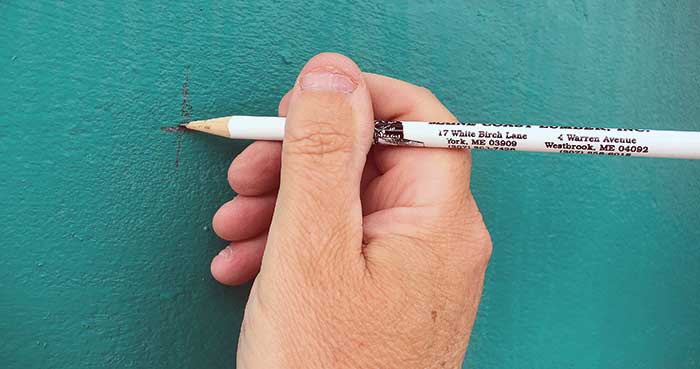
1. Carefully measure and mark the light's center position on the outside of the boat with a pencil. Placement is likely to be a compromise between the ideal and the possible. Go inside the boat and check the inside of the hull to ensure that there are no structural members or wiring or anything else in the way that could impact the placement. Check it again to make certain. Consider, too, that you will have to be able to reach the back of the lamp for installation and service. Don't position lights too close to exhaust outlets or other existing penetrations.
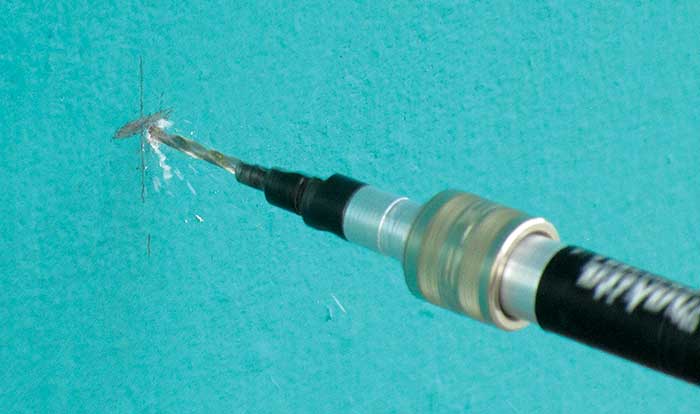
2. After double checking your measurements, chuck a 1/8-inch drill bit into an electric drill and drill through the hull on the marks you made in the previous step. Remove the drill bit from the chuck, but leave it in the hole so you can easily see on the inside of the boat where the final larger hole will be. If you measured correctly, carry on. If not, remember that it's much easier to repair a small hole than a larger one!
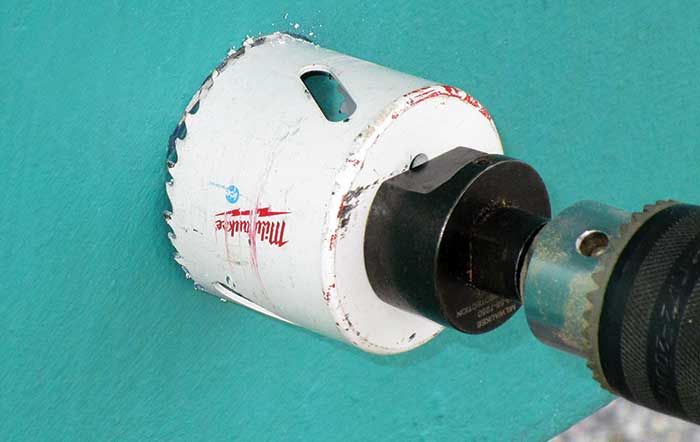
3. Use a hole saw of the correct diameter to cut the hole, using the smaller hole as a guide for the drill bit. Use a slow speed and apply firm pressure to the drill. My lights needed a 2-3/8-inch hole, but other lights may require a different size. Again, refer to the instructions that came with your lights.
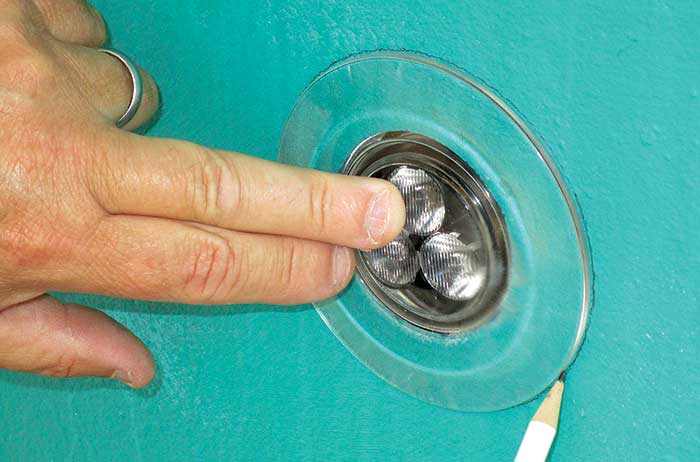
4. Clean up any rough spots around the hole with sandpaper. Then, after wiping the hole and the inside of the transom with acetone to remove any residual dirt and grease, brush on some epoxy resin to seal the edge. Once the epoxy has dried, feed the cables into the hole and test fit the light. Draw around the circumference of the light fitting with a pencil.
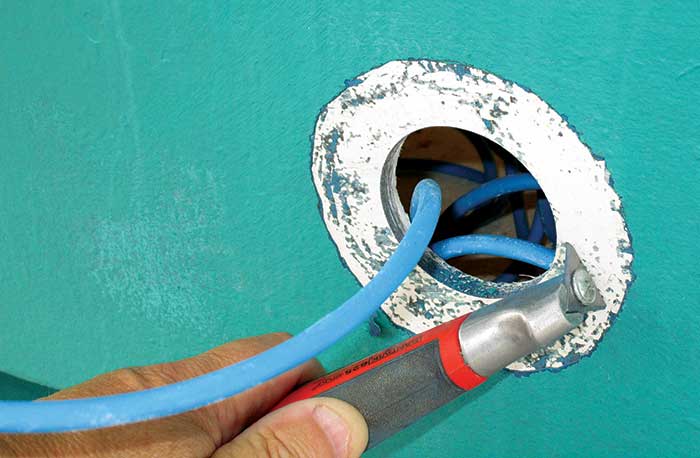
5. Remove the light, then use a scraper to remove any antifouling inside the line back to the original gelcoat. Use a clean rag to wipe the scraped area with acetone to remove surface contaminants.
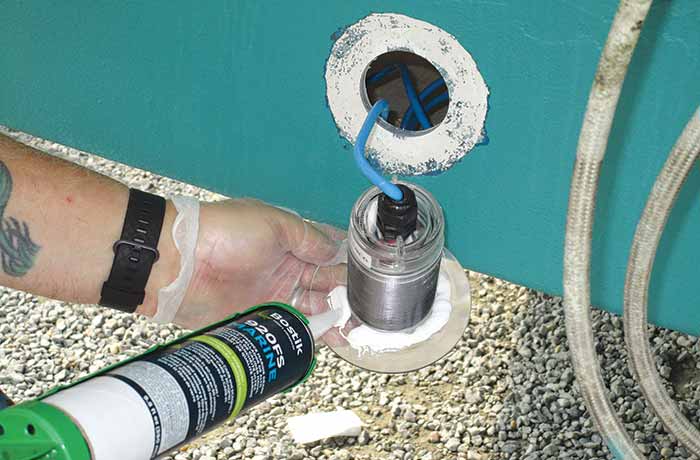
6. Feed the cables back through the hole. Apply a generous bead of adhesive sealant — according to manufacturer recommendations — around the flange of the light and press it into position. Scrape or wipe off excess sealant.
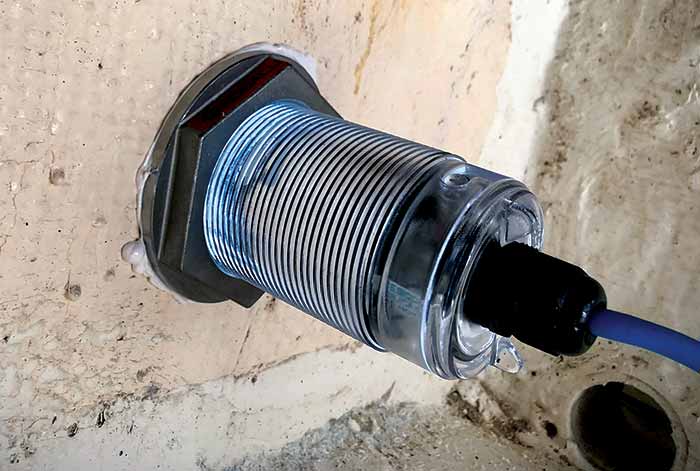
7. On the inside of the boat, screw on the retaining nut, then route the wires and connect them to a suitable switch or breaker. (The correct size will be given in the instructions.) Double check all your work before turning on the light.
Before Drilling That Hole, Stop And Think!
No one likes drilling holes in their boat — especially below the waterline — but sometimes it's necessary. Before you crank up the drill, however, make sure you know exactly where you want the hole (measure twice, drill once), and be certain that you know what's behind where you're drilling. The BoatUS Marine Insurance claims files have numerous accounts when careless drilling became a major problem. In one case, an owner was drilling a hole to install a battery box and accidently drilled into a diesel fuel tank, spilling a couple of gallons of smelly fuel into the bilge (consider if it had been a gasoline tank!). Another case involved an owner who nicked a couple wires as he was drilling through a bulkhead to mount a new light, causing a short and some scary smoke before he turned off all the breakers. The owner of a small fishing boat was drilling into the plywood floor of his boat and went through the aluminum hull — while the boat was afloat. Limit how far you drill by wrapping a small piece of colored tape around the bit to the depth you want.