Advertisement
Here's how to plan it, assemble the tools and materials, and do it!

Illustration: ©2015 Mirto Art Studios
Few items on your boat are as important as your VHF radio, which is your most reliable link to the outside world. But poor installation can compromise the performance of this vital tool. Luckily, installing a VHF is a relatively easy project that just about any boater can do on his or her own. Just follow these steps, and you'll be on the airwaves in no time.
Most do-it-yourselfers will binnacle-mount their radios, so that's what we'll address here. Flush mounts have more shape and space constraints, and you have to cut a hole in the helm (see "How To Cut Fiberglass"), so you need to be confident in your DIY skills. Most VHF radios come with a binnacle mount, sometimes called a trunnion mount, as well as with a template for the cutout, should you decide to go down the flush-mount route. Choose a location for your radio from which you can easily operate it while running the boat and which is shielded from the weather and direct sunlight, if possible. Before drilling through it, check beneath the helm to make sure the area is clear of wires, panels, gauges, and other items! Also determine that there's adequate clearance for the radio and that its location won't interfere with other gear, such as throttle movement or compass.
Find the drill-bit size that matches the radio's included mounting hardware, then drill the mounting holes in the helm, following the instructions accompanying the radio. After drilling the holes, vacuum up all fiberglass dust. Run a bead of silicon sealant around the holes, set the binnacle mount in place, and insert the mounting hardware. If the included hardware consists of screws, replace them with through-bolts and aircraft-grade Nylock locking nuts, which will keep the mount more secure.
Before you can get power to your new radio, you'll need to drill one more hole in the helm, this one for the wires. To determine the best location, put the radio in the binnacle mount and see where the wiring harness falls. Locate a spot for the hole that won't require any hard or abrupt bends in the wires, and be sure to use a bit that makes a hole of sufficient size for both the wiring harness and the antenna cable. After drilling the hole, feed the radio's wires down into it. You'll also need to bring the antenna cable up through the hole — which will probably mean cutting off the old connector. This helps you avoid drilling too large a hole, as it only needs to be large enough for the cable and not for the connector; secondly, in most cases the cable will be too long, and this is a good opportunity to shorten it to a suitable length.
Follow these steps:
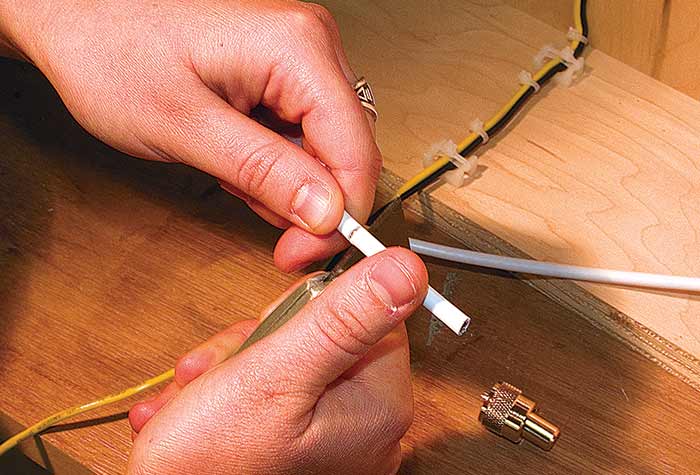
1. Feed the cable up through the helm.
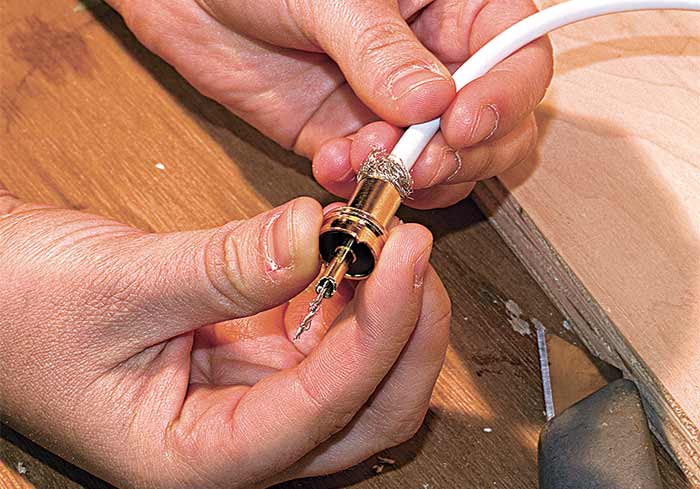
2. Attach a new PL-259 connector to the end as specified in the instructions; solder-on types provide a longer-lasting and better connection.
3. Attach coaxial cable.

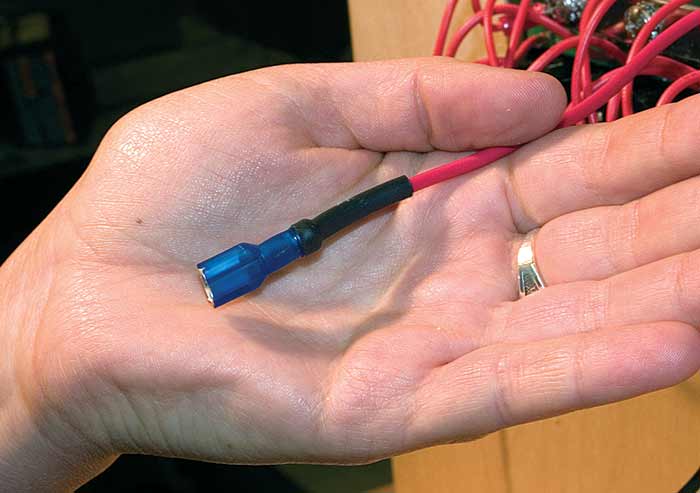
4. Crimp butt connectors to the wires.
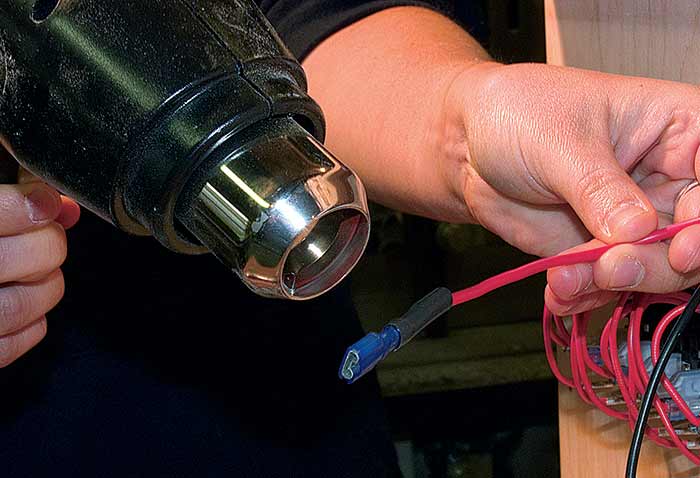
5. Protect them with the adhesive-lined heat-shrink tubing. At the terminal ends, crimp on terminal connectors, protecting the connections with adhesive-lined heat-shrink tubing.
6. Don't attach the terminal connectors to the power source just yet; we'll do this as we complete the final stage of this project.
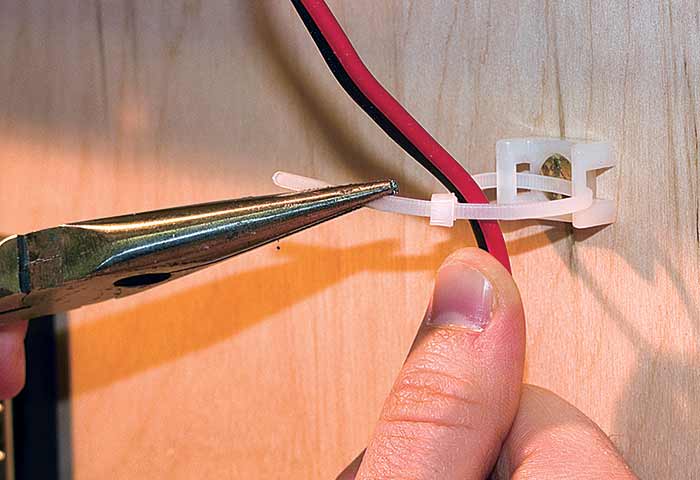
7. Next, use wrap ties or cushioned clamps to support the power and NMEA interface wires at least every 18 inches, in accordance with American Boat & Yacht Council recommendations.
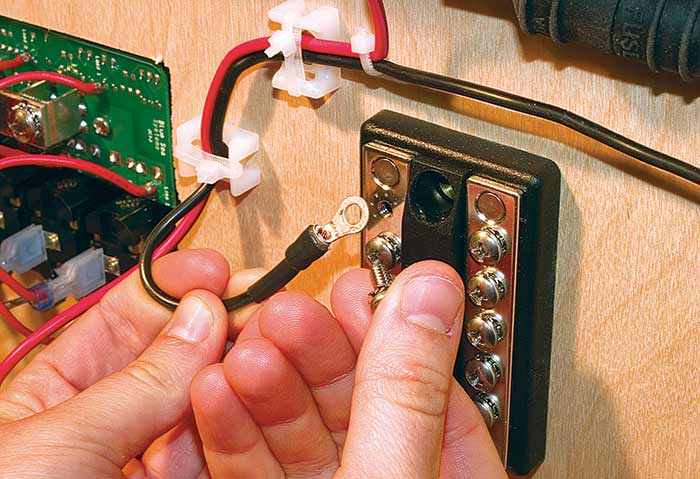
8. Finally, with the battery switch turned off, attach the power leads. Ideally, this would be negative to a ground bar and positive to a dedicated circuit breaker at a breaker panel with tripping capacity, as is recommended by the manufacturer.Perform a standard radio check on a non-commercial and non-government (working) channel to make sure everything is working properly.
Before you begin the wiring work, disconnect the battery entirely. Disconnect any AC circuits, and keep everything off until you've completed the project. The rest of the wiring work will have to be done from under the helm. You may or may not need to extend the power leads for the radio to reach your power source. If you do need to extend them, use only the same wire type and size; you'll find guidance in the installation instructions with the radio.
The next step is to connect your VHF to the GPS, if you have one fitted on your boat. Don't skip this step! Digital Selective Calling (DSC) gives the Coast Guard your exact location, identity, and boat information automatically if you make a Mayday call and is one of the best and most cost-effective safety features available today. But in order for the DSC feature to work, you need an MMSI number, available free to BoatUS members at BoatUS.com/MMSI.
Getting your GPS and VHF to communicate is a lot easier than people think. The units talk via an NMEA data stream (NMEA 0183 and/or NMEA 2000) that usually requires just two wiring connections: an NMEA (+) data in (on the VHF end) to an NMEA out (+ from the GPS) connection, and an NMEA ground (-) connection from the VHF to the GPS. There's no standard color-coding for these wires, so refer to your owner's manuals. Connect the GPS data-out (+) wire with the VHF data-in (+) wire, and the two (-) ground wires, by crimping on butt connectors. Once again, finish these off with adhesive-lined heat-shrink tubing.
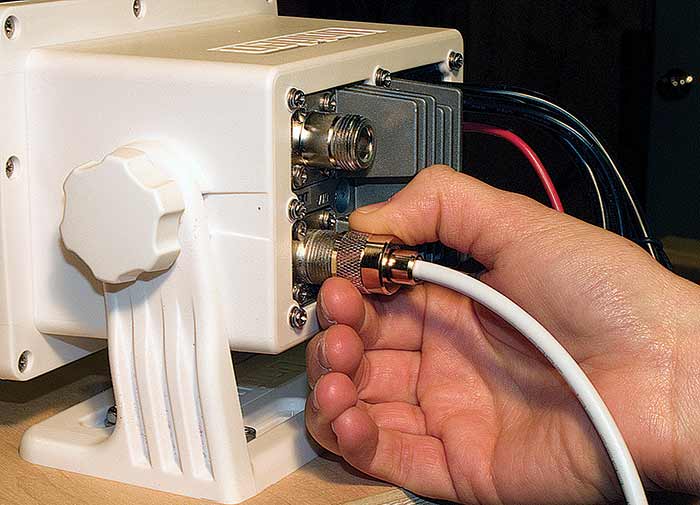
With everything in place, it's time to batten down the hatches. Start by securing a clamshell fitting over the wiring hole in the helm, then seal the opening with a healthy dose of silicone to prevent water intrusion.