Advertisement
This valve prevents a pressurized gas tank from pumping fuel through your outboard and into the water.
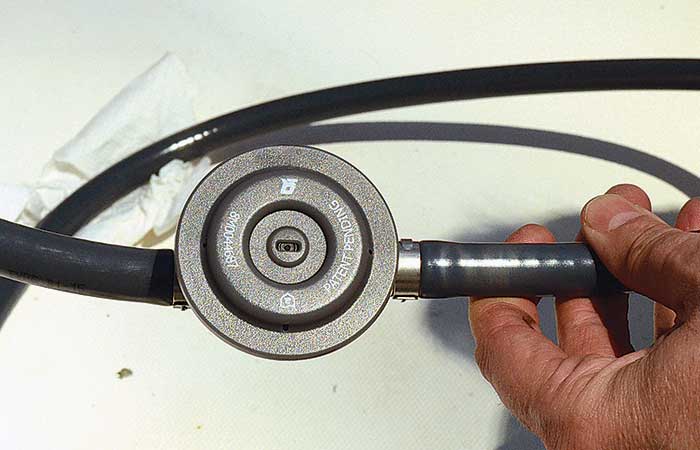
What's that line about the road paved with good intentions? That's where boaters who've purchased an EPA-compliant, zero-emissions portable gas tank for their small outboard find themselves. In order to prevent volatile, smog-causing gas fumes from escaping into the air, all portable tanks sold today are designed without a two-way vent. But without a vent, there's no way to release the pressure that builds up in the tank when it gets heated by the sun. Instead, as the tank quickly bulges and the pressure rises, gas is forced through the hose and into the outboard, many of which have no means to hold it back.
Tip
The result — entirely predictable to boaters, but apparently unforeseen by regulators — is gas pouring out of the outboard and into the water, driveway, or backyard. And before you ask — leaving the tank disconnected just results in the same gush of gas once you do hook it up, either from the tank end or through the engine. So you can either choose to get sprayed in the face with gas, cause a fine-worthy spill, or vent the tank manually before connecting it, defeating the whole purpose of it's misguided design. I'd recommend the last option.
Fortunately, the boating industry came up with a solution, the fuel-demand valve. These are installed in the fuel line between the portable tank and the primer bulb. The purpose is to contain the pressure buildup in the tank, and allow fuel to flow to the outboard only when the engine "demands" it, meaning when it's running. To install one, you'll need to buy a valve and two hose clamps (5/8th-inch size), plus have handy a sharp knife or shears to cut the fuel line, a screwdriver or socket driver for adjusting the hose clamps, and a glass container for capturing gasoline. The parts will set you back about $30, unless you also need new fuel line. For the gas-tank end of the fuel line, you might also consider purchasing a "no spray" connecter, which you can install as well.
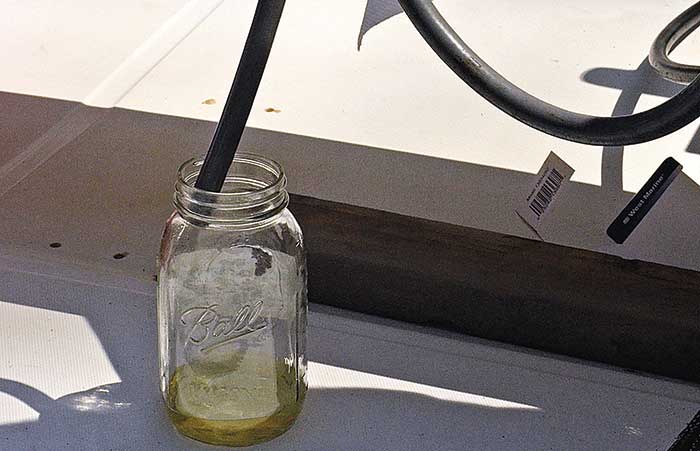
Step 1: The first step is to disconnect the fuel line from the tank and engine. Drain any gas that might be inside into a glass jar or other suitable container. Anytime you work around gasoline, take sensible precautions, such as working outdoors and away from sources of ignition, such as power tools. In order to get the gas to drain, it's best to disconnect the primer bulb. There's a check valve inside that prevents gas from flowing backward. Once that's out of the way, the gas should drain easily. Check the condition of the gas visually, making sure there are no dark flecks or sludge that would indicate that the fuel line is failing. If the gas is clean, you can dump it right back into the tank.
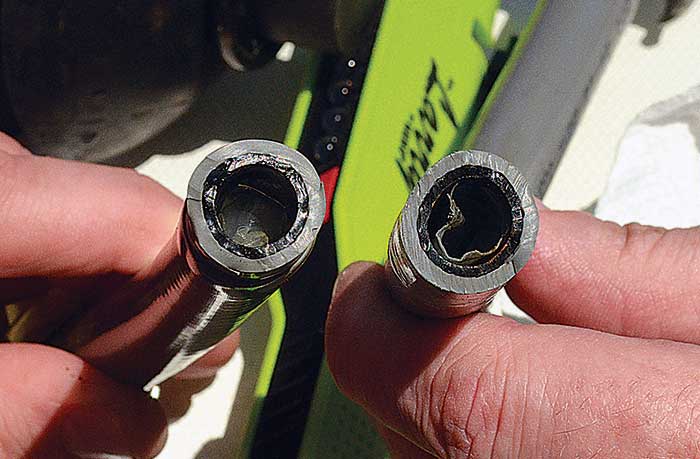
Step 2: Next, mark the fuel line between the tank and primer bulb at least 8 inches away from the tank. Cut the hose at this mark. Check the hose to make sure it hasn't delaminated like this one.
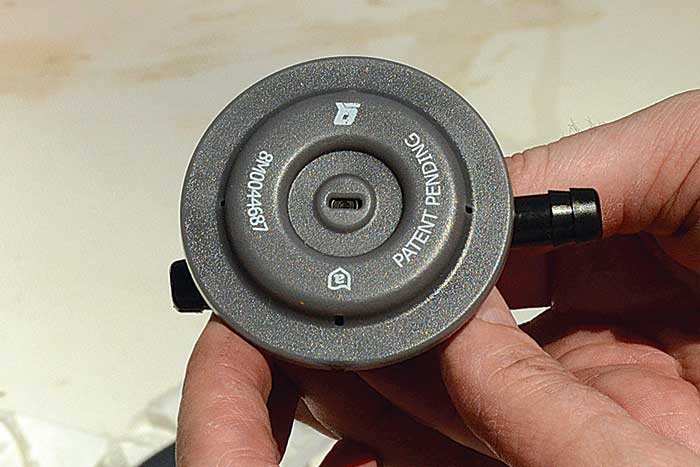
Step 3: Slip a hose clamp on the end you just cut. Check the orientation of the valve. An arrow printed on the side should point toward the engine side of the fuel line. Insert the hose barb carefully, slide the hose clamp up over it, and tighten. Repeat for the other side of the valve, then reinstall the primer bulb, taking care to make sure it's correctly oriented; if you install it the wrong way around, your engine won't start. If you bought a no-spray connector for the tank, you'll want to screw that into the fitting on the tank, then install the compatible end on the fuel line.
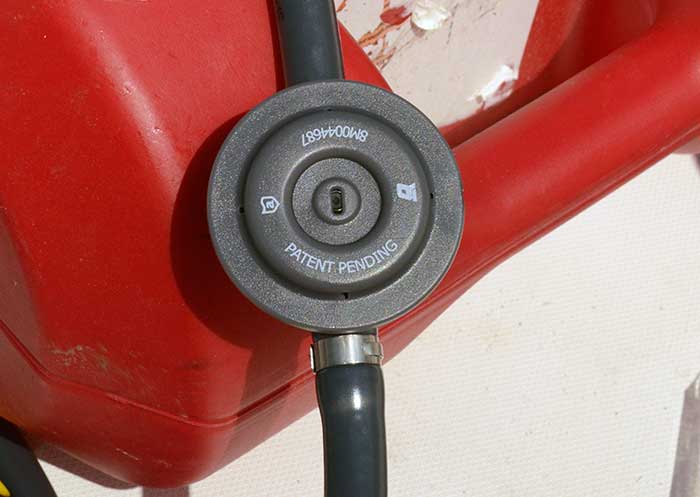
Step 4: Connect the fuel line to the tank, then to the engine. Give the primer bulb a few squeezes to get the gas flowing, then test start the engine. Watch your new connections carefully for leaks, and tighten them if necessary.
In doing this installation in preparation for this article, my team discovered that even relatively new fuel line might be incompatible with a successful installation. New, ethanol-resistant fuel hose has a plastic liner inside the rubber hose that can become separated from the outer hose even in line that's only a few years old. Even though we took great care in installing the valve, we discovered that the hose barbs on the valve had pushed the liner back inside the hose, effectively blocking gas from flowing. You may wish to start this project with brand new fuel line, or you can eliminate the labor entirely be purchasing a pre-rigged fuel line with the valve installed at the factory.
