Advertisement
While the stereo may not be the most important electronic item aboard, it adds to the enjoyment of your boat. Installing one is easy.
Some boats come with a factory-installed stereo and others don't. But in either case, if you want a top-notch sound system aboard Mom's Mink, you'll probably have to do the work yourself. Radios that come standard aboard most boats are usually mid-range quality, and paying a pro to install an upgraded stereo can double its price. So, if you're a DIY boater on a budget who wants a really rockin' stereo, read on.
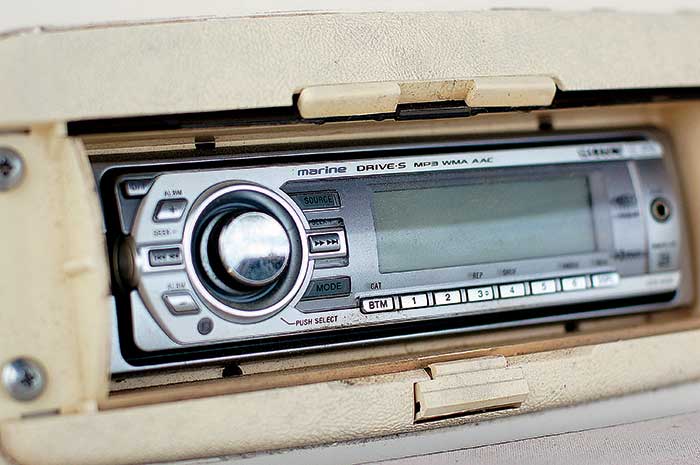
Stage I: The Head Unit
First things first: You need to figure out where the head unit will live. If your boat has a cabin (even a console cabin), mounting the stereo inside and wiring a remote control to the helm will keep the head unit out of the weather and extend its life. Once you've decided where it's going to go and purchased the radio, prepare the radio for installation at your workbench by stripping the insulation from the power and speaker wires and crimping on connectors. This should be done ahead of time because once the stereo is mounted, those wires may be in a very tight area.
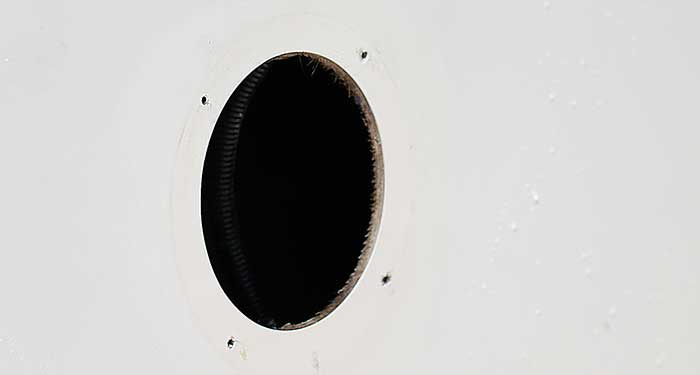
Choose your location carefully before you make a hole like this one, making sure it's clear of obstructions and capable of reaching wire runs.
If you're upgrading or replacing an existing unit, there's a chance you can simply swap out the old head unit for the new one, but in most cases, you'll need to cut a fresh hole or modify an existing one. Choose your spot carefully because once you start cutting, there's no turning back. You'll need to ensure that the space is both large enough to accommodate the stereo's face and deep enough for the back of the unit. Inspect the mounting location from all angles, and measure clearances twice. Make sure there aren't any cables or wires behind the mounting spot, or you might cut them by accident when you cut the opening.
With the spot's suitability confirmed, tape the stereo's mounting template in place and use a pen to trace the dimensions of the cutout directly onto the fiberglass. Then get a drill bit large enough to cut a hole that accommodates your jigsaw blade, and cut a starter hole. Insert your jigsaw blade into the starter hole and follow the traced-on lines closely as you saw out the opening. Next you'll need to drill the mounting holes for the unit, again, referring to the mounting template. With these holes cut, you're ready to slide your workbench-prepped stereo into place.
Tip
It's now time to flush-mount the head unit using through-bolts secured with aircraft-grade Nylock locking nuts. If the stereo didn't come with a rubber gasket, after bolting it in place, run a bead of silicone sealant around the edges to keep out water.
Stage II: The Speakers
Again, carefully consider where to mount the speakers before cutting anything. You'll hear the stereo much better if you can locate the speakers up high, at or near ear level, forward of the helm. If the speakers are aft of the helm, your tunes will get washed away by the wind while the boat's underway. Before you start cutting and drilling, make sure you can route wires to the location. More than one DIY boater has mounted a set of speakers in a new spot, only to realize there was no chase or conduit through which to run wires.
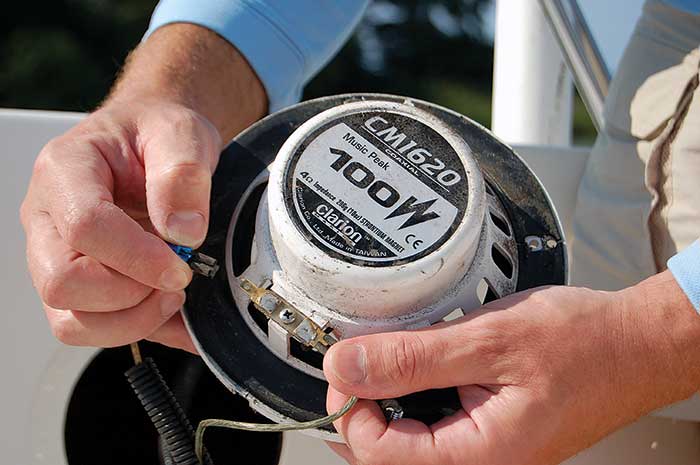
Prep wire ends with heat-shrink crimp connectors sized to fit your speakers.
If you followed the mounting template, the screws should go in easily. Don't over-tighten. A bead of 100-percent silicone sealant finishes the job.
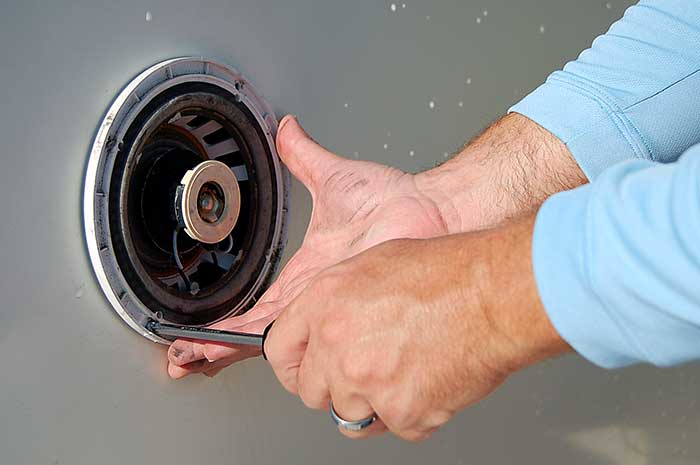
If you're installing flush-mounted speakers, follow the same measure-trace-drill-saw process you used for the head unit. Once the holes are cut, make sure the speakers fit properly, but don't affix them in place just yet. If you're mounting box speakers, simply drill the bolt holes, secure the mounts in place, and sit the speakers down next to them.
Tip
Stage III: Wiring
Now you need to cut the speaker wires to length. Crimp the ends to the stereo's speaker outputs using crimpers and butt connectors sealed with heat-shrink tubing. Route the wires to each speaker using a wire-fish, and secure them in place every eight inches wherever possible, with wire clamps or tie-wraps. Then you can connect the wires and finish securing the speakers in place. As with the head unit, if there's no included gasket to prevent water intrusion behind the speakers (or speaker mounting holes), run a bead of silicone sealant around the edges.
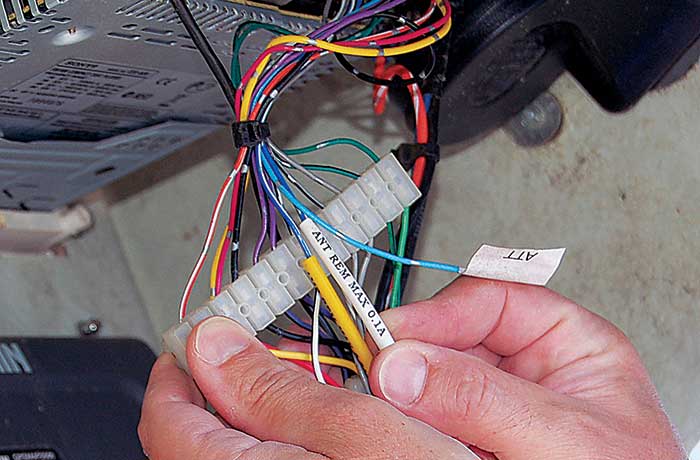
Don't let the complex nature of the wiring intimidate you. Labels and looming are your friends.
Finally, it's time to give the stereo some juice. If there aren't pre-existing power and ground leads, run new ones to the closest bus bar and/or fuse box. Again, use crimpers and butt connectors backed up by heat-shrink tubing, and secure the wires every eight inches. Don't forget to install the properly rated fuse for the stereo as well. Now fire up some tunes, and let your ears enjoy your handiwork.