Advertisement
Too much "play" between your trailer coupler and the ball hitch can result in more than a headache from clunking sounds.
If the fit of your trailer coupler and the ball on your tow vehicle is too loose, the coupler could work loose from or "jump" the ball, leaving only the safety chains to keep the tow vehicle and trailer connected. On the other hand, if the fit is too snug, the trailer may struggle when turning. That can result in equipment failure, not to mention sounds that can be felt clear down to the fillings in your teeth. Avoiding both extremes is simple, and requires only a wrench and a few minutes for a custom fit.
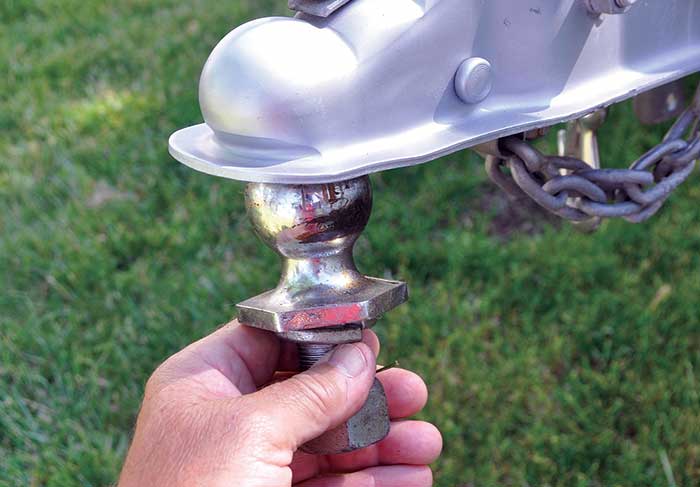
First, separate the ball from the receiver hitch and make sure it's the correct diameter for the coupler on the trailer. In this case, it's a two-inch ball.
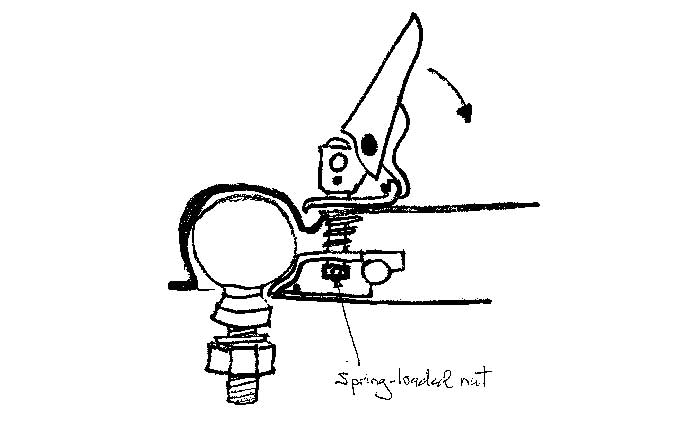
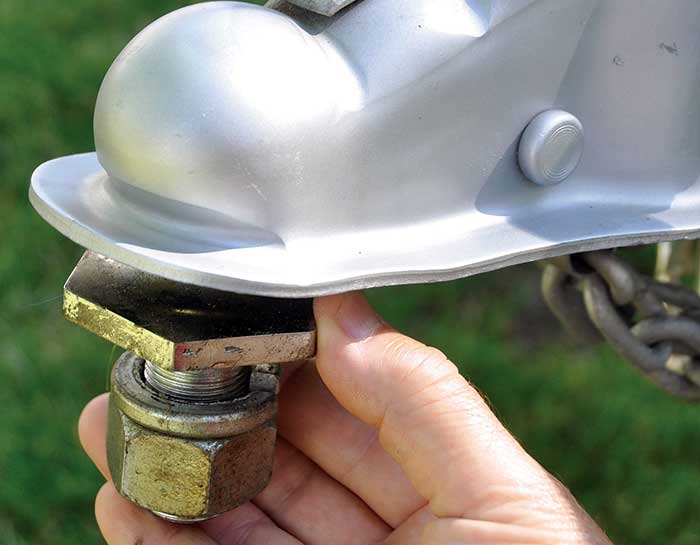
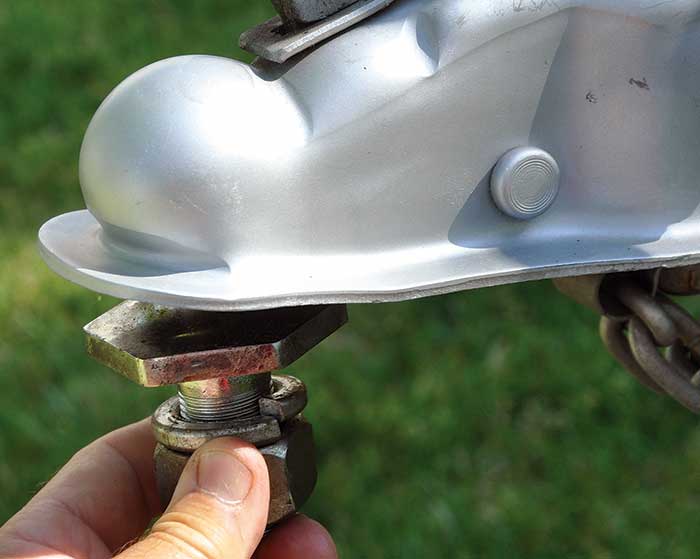
Next, look under the coupler to locate the tension nut on the end of the spring-loaded bolt that attaches to the coupler lever. Select the correct size wrench to fit the nut, in this case 3/4-inch.
Open the coupler by lifting the lever, place the hitch ball in the cup, and close the lever by lowering it. The ball should stay securely in the coupler but with enough play to rotate easily by hand. If the fit is too loose, use the wrench to tighten the coupler nut. If you cannot fully close the coupler lever, or when the lever is pushed all the way down and the hitch ball is held too tightly to turn by hand: Loosen the nut until you can twist the ball around in the coupler with your hand, but it still feels secure.
At that point, remove the ball and secure it to the receiver hitch on the tow vehicle, knowing the coupler tension has been custom set for your rig and it's ready to hit the road with the boat in tow.
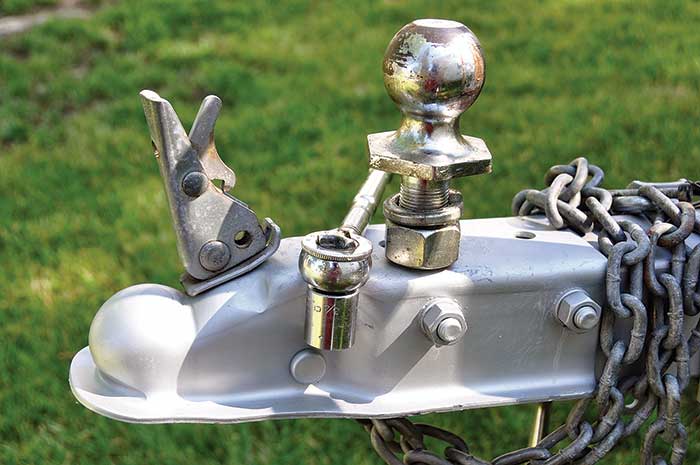
1. All you need to custom fit your boat trailer's coupler is the proper size hitch ball and a wrench.
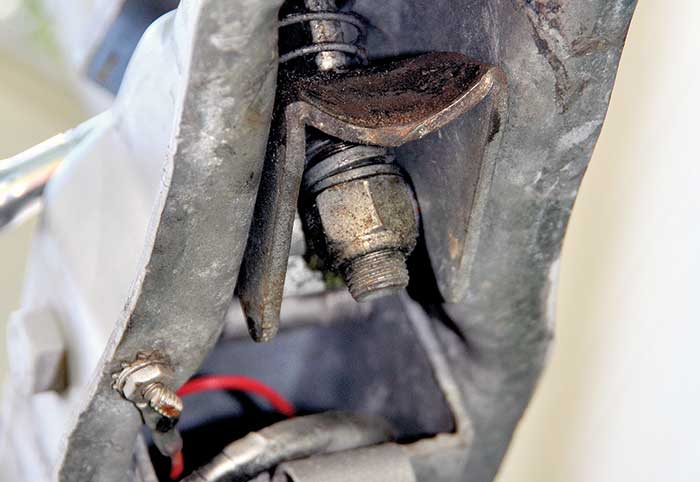
2. Locate the tension adjustment nut on the spring-loaded bolt on the underside of the coupler.
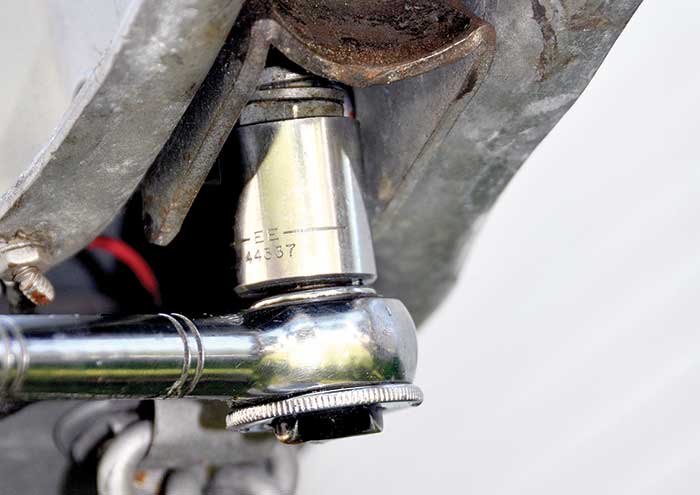
3. Identify the correct size wrench (open-ended, crescent, or socket) to fit the nut.
4. Open the coupler lever and place the hitch ball in the coupler.
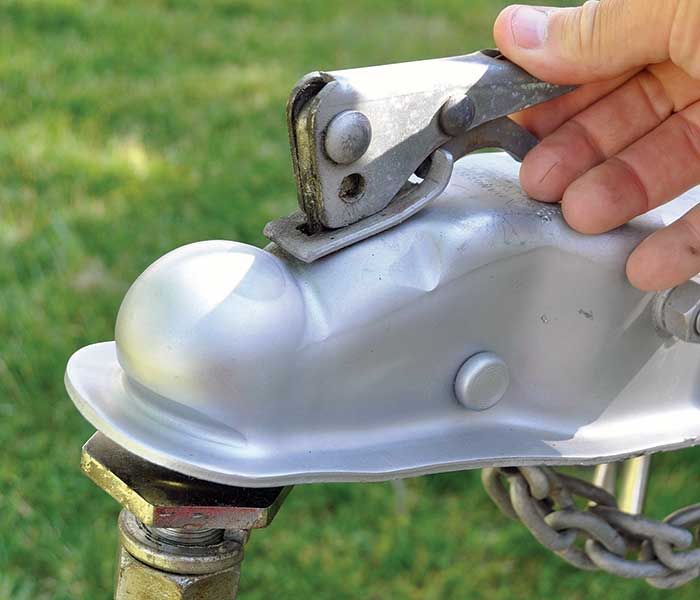
5. Close the coupler lever to grasp the hitch ball.
6. Test the connection for excessive looseness or tightness.
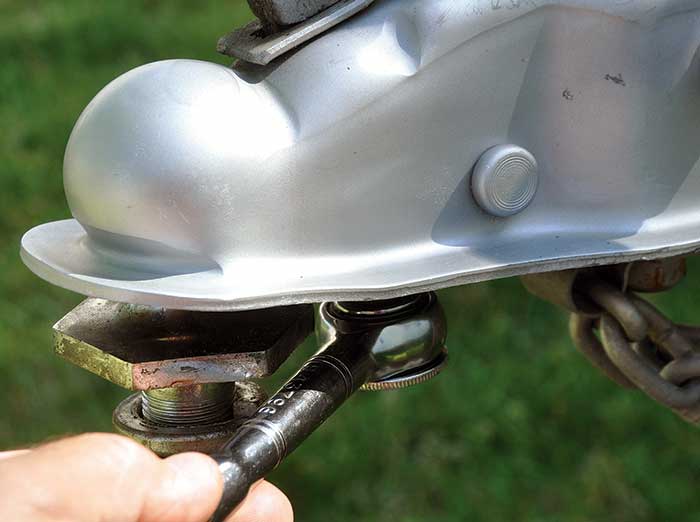
7. Tighten or loosen the grip of the coupler on the hitch ball, using the wrench to turn the tension nut.
8. When you are able to rotate the hitch ball with your hand while it remains secure, with little play, in the coupler, the custom setting is complete.