Advertisement
With just a few simple materials and a little time and creativity, you can put your boat name and logo on just about anything. Here's how.
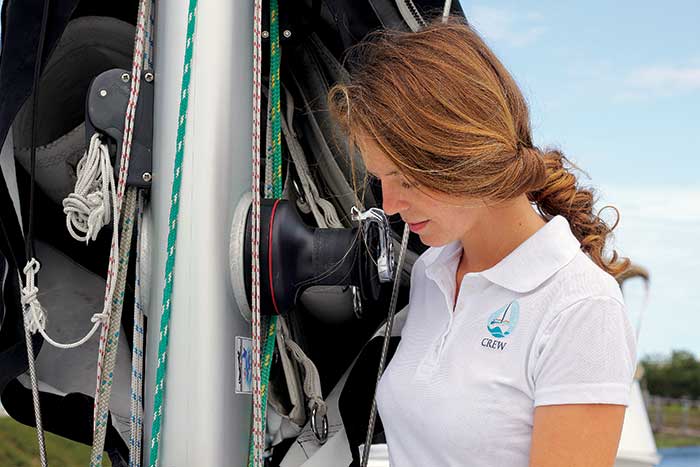
Outfit your boat crew, family, and friends in customized clothing without spending a lot of money.
If you've ever wanted custom crew shirts, it's easy to make them on the go. Using this iron-on adhesive method, there won't be much you can't stick your boat name on. Whether it's crew shirts, hats, or tea towels, this method will have you making boat swag in no time. You might even keep a few blank shirts aboard in various sizes so you can quickly put together a last-minute gift.
Technical Support
Difficulty: Easy to moderate
Materials and Tools:- Iron-on transfer paper
- Garments or other items in suitable fabrics
- Computer
- Color printer
- Scissors
- Iron
Time: 2 to 4 hours
Cost: Transfer paper is around $1 per sheet. Garment costs vary.
1. Design your graphic. There are plenty of ways to obtain a graphic for your T-shirt. Consider reusing any graphics you've previously had designed for your boat (e.g., decals, vinyl stickers, boat cards), finding a graphic designer, or experimenting with photos, clip art, and text in a publishing program like Microsoft Word or Publisher. Before you put pen to paper, spend some time looking online for design and font inspiration. Note: Be careful to avoid using copyrighted work.
Tip
2. Purchase iron-on transfer paper. It should be easy to find this at your local stationary store. Prices generally run $1 to $2 a page. Check which fabrics are compatible with the print paper (listed on the package). We used Avery Inkjet T-shirt Iron-On Transfers, which was compatible with cotton and cotton/poly blends.
3. Select garments. Pick out garments to which you'd like to apply your graphic. You'll have the best results with light colors. Use your imagination and have fun selecting T-shirts, hats, tote bags, and anything else you can think to stick a graphic on.
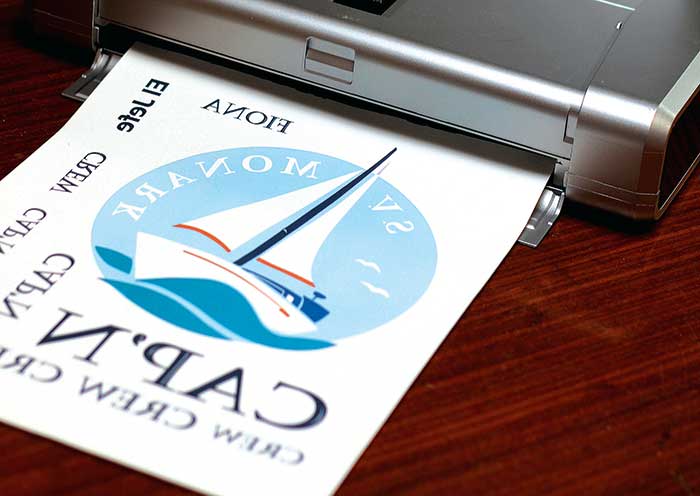
4. Lay out, test, and print. Lay out your graphic(s) in whatever program you're using. Because the image will be ironed face down, it will need to be flipped. This can be done in your application, or the printer may have a "mirror image” function in your print dialog box.
To determine the size of your graphics, tape out an area on the garment where you plan to place the logo, then measure the taped area. Depending on the size, you may be able to fit several copies of your graphic and text on one page. Once you've created a layout that you're happy with, print a test copy on plain printer paper to ensure you've got good ink levels, correct sizing, and that the images come out as intended. Finally you're ready to create your iron-on adhesive! Insert the iron-on transfer paper and hit print.

5. Cut out the graphic and/or text, leaving at least a 1/16-inch border to allow for bleed.
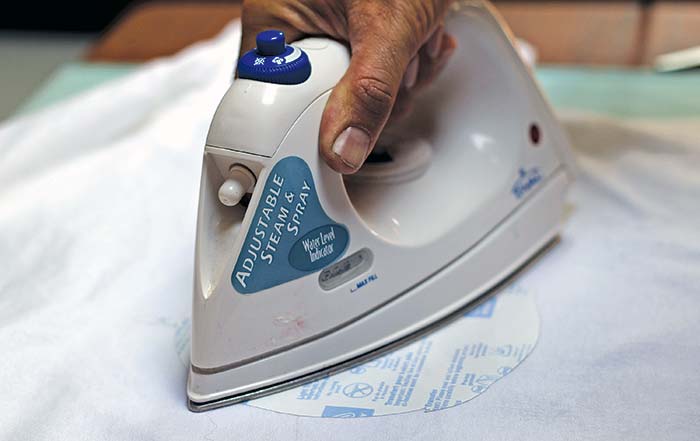
6. Warm up your iron (do not fill with water) to the setting recommended by the transfer paper manufacturer, position the graphic face-down over the area that you previously marked out with tape, ensure it's straight, and press the iron down firmly using both hands. Continue to apply pressure and move the iron around slowly, being sure to focus on the edges of the iron-on transfer paper. After a minute (or recommended time), remove the iron and let the garment cool.
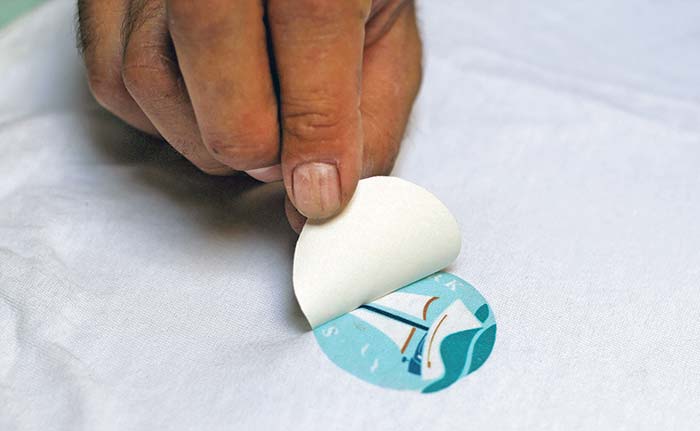
7. Once cool, gently peel back the backing paper. Now it's time to slip into your new gear and go boating!