Advertisement
If you find your feet getting wet on your boat's self-bailing deck, something's amiss.
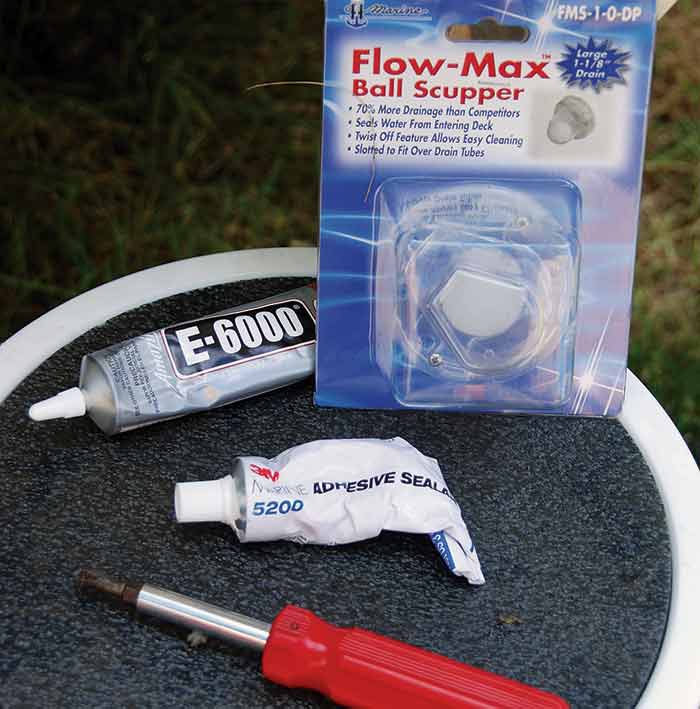
The tools needed were minimal — a Phillips-head screwdriver and marine-grade sealant. (Photo: Dan Armitage)
Several styles of one-way scuppers designed for use on self-bailing decks are available: duckbill, flapper valve, and ball style are most common, for which aftermarket versions are available. The ball style is popular among owners of trailerable boats for their effectiveness and relative simplicity, and we selected T-H Marine Supply's Flow-Max Ball Scupper ($14.99 at WestMarine.com) for our application. The T-H offers a large exit hole for quick draining, and a twist-off feature makes for easy cleaning when leaves or other debris clog the system. The Flow-Max (thmarine.com) meets all ABYC standards, includes a stainless-steel security pin, multiple mounting holes, and a neutral buoyancy ball that won't float up and break the seal. All one-way scupper valves should be checked regularly for possible debris.
Here are the steps we took when installing one of two Flow-Max drains on a center-console boat:
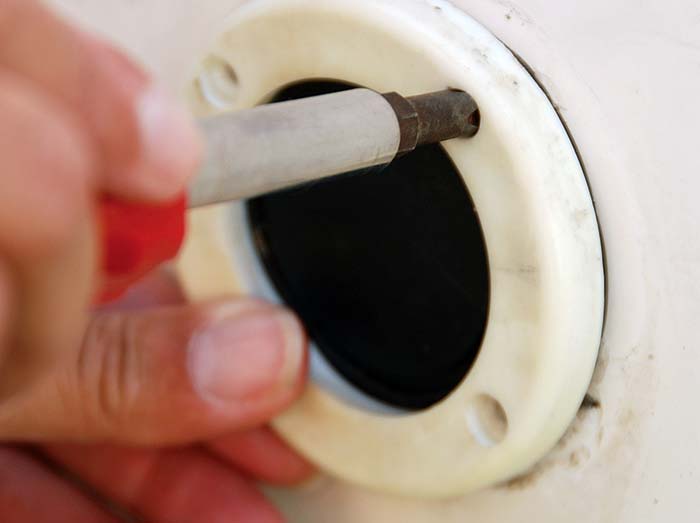
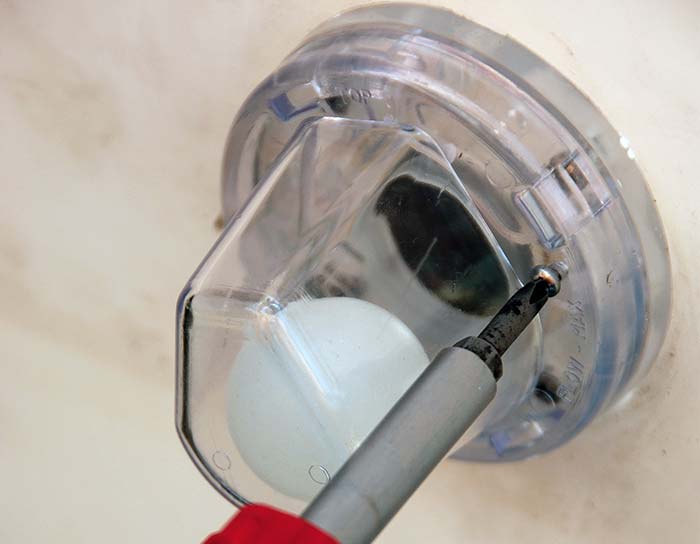
Step 1: First, remove the original scupper assembly. See tools needed (see above).

Step 2. Fill the original screw-mounting holes with marine-grade sealant.
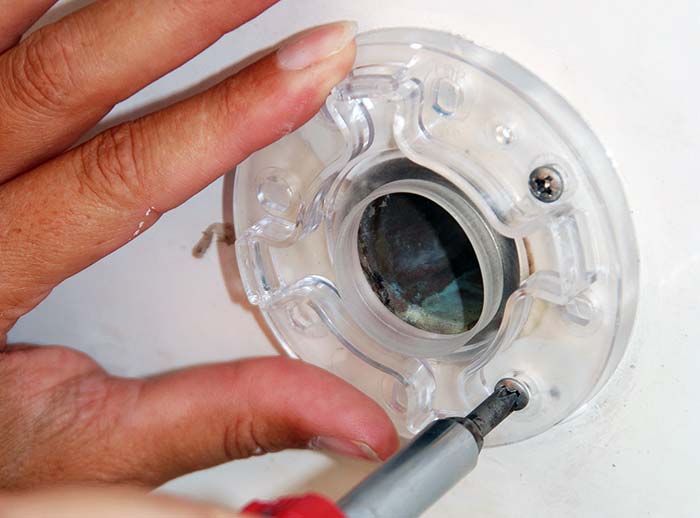
Step 3: Fit the Flow-Max base-mounting plate over the scupper hole and use the screws supplied to secure to the transom. In most cases, such as this, the plate's holes will align perfectly with those that secured the original scupper-valve mounting plate so no drilling is required.
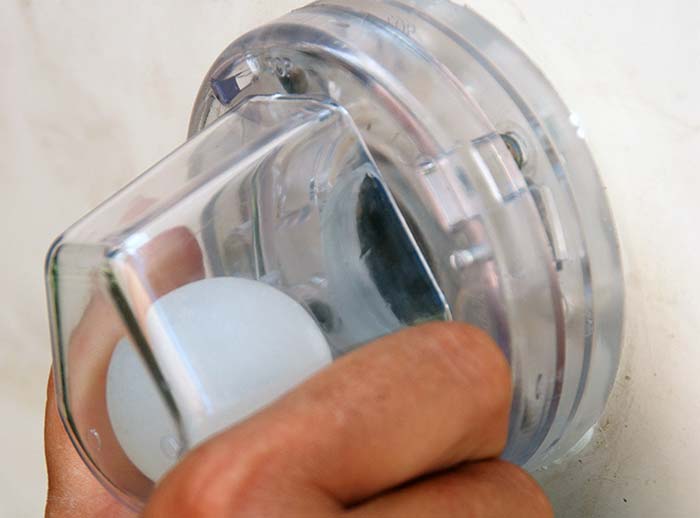
Step 4: Secure the scupper bowl assembly to the base with a twist-and-lock motion.
Step 5: Using the lock screws supplied, secure the bowl to the base. All that's needed to clean the bowl is removal of the screws and twisting the ball unit free of the mounting plate.
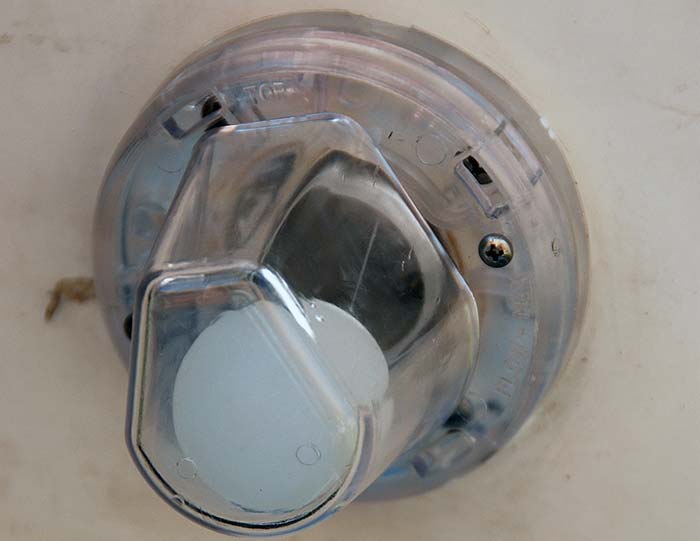
Step 6: Installation is complete.