Advertisement
Here's an easy way to keep your bait from going belly-up without breaking the bank.

Save money by making your own livewell using an old cooler and basic DIY skills.
A bucket might be your cheapest option for transporting baitfish, but after a long trip or during a hot day, you'll likely find them looking less than lively if not downright deceased. Moral quandaries aside, predators prefer livelier-looking bait, and the only thing worse than a bucket of dead minnow is an empty fish cooler. So if you're looking to keep bait alive, and your boat doesn't have an integrated livewell, consider a portable version.
There are some great portable livewells on the market, but these can cost $100 or more. Why buy when you can DIY? All it takes is as little as around 10 minutes, $30, and that old cooler you didn't have any fish to put into anyway.
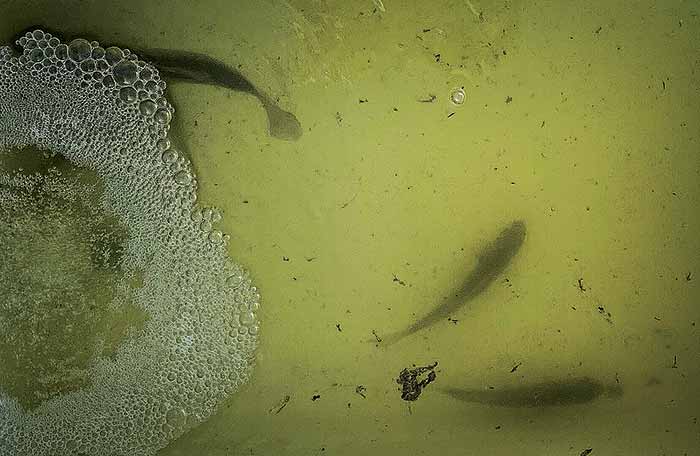
Tip
While it might seem a little crude, this setup will keep your baitfish alive and energetic for longer. So, what's the catch? Lunkers, hopefully — in which case you might end up needing a new cooler to keep them in!
Technical Support
Difficulty: Easy
Tools and Materials:- Drill with bits
- Silicone or marine sealant
- Utility knife
- 40 qt. cooler
- Internal battery-powered aerator pump
Time: 10 minutes
Cost: Around $30 if you already have an old cooler
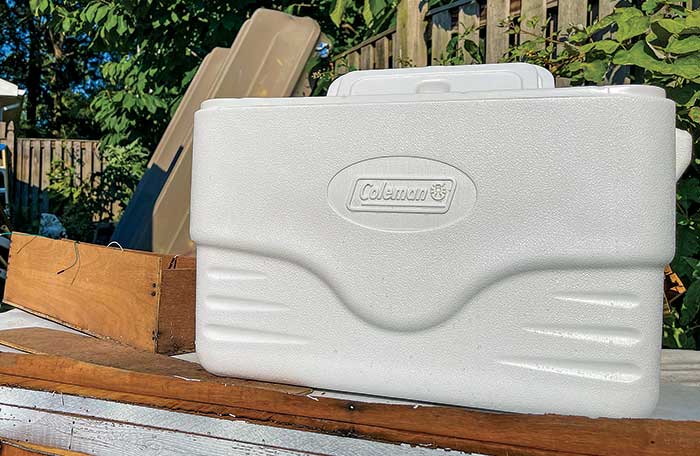
1. Gather supplies and tools. Start by finding a cooler, preferably one that nobody is going to miss and ideally one that already belongs to you. If you're buying one, don't bother splurging because a cheap one will work just fine. Forty quarts is a good size, and you certainly want one big enough to store all your bait, but keep in mind that a quart of water weighs about 2 pounds and you don't want it to be too big and heavy to carry back and forth to the boat.
You can pick up a cheap internal battery-powered aerator pump on Amazon for around $25 or less, but it's also worth checking local bait shops. Make sure to find a pump that's rated for the volume and salinity of water you'll be aerating. Also, because it's likely to get splashed at some point, look for a water-resistant pump that's fitted with rubber gaskets.
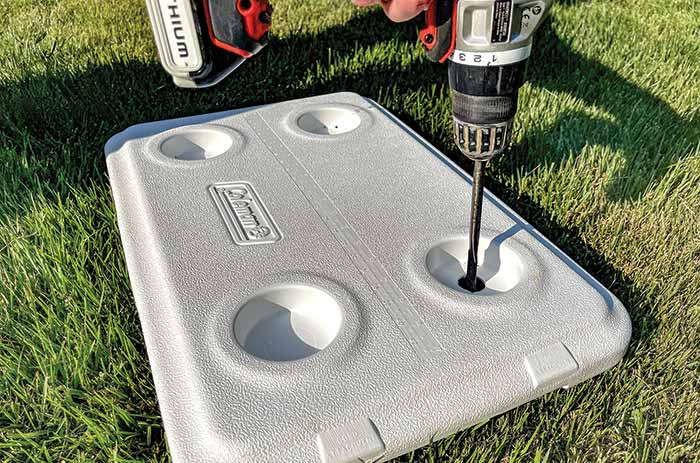
2. Drill the air tube port hole. Using a drill bit slightly larger than the diameter of the tubing that came with the aerator, drill a hole into the top of your cooler for the aerator tubing to pass through. Having the hole close to one of the corners and through the top of the lid will help reduce the amount of water that splashes out. If the cooler has hinges, keep the hole close to them so the tubing doesn't get pulled out whenever the lid is opened. After drilling the hole, line the inside edges with a dab of sealant to prevent water from saturating the foam inside the cooler lid.
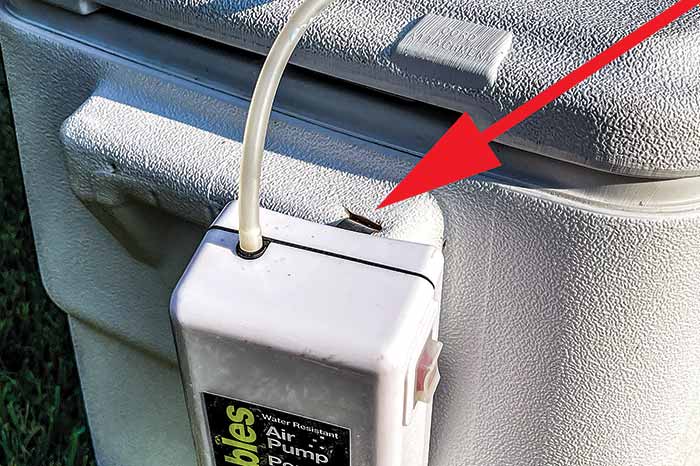
3. Mount the aerator. If your pump is fitted with a clip that won't fit on the cooler's handles, you'll need to use your utility knife and cut a slot to hang it. Hook-and-loop tape will also work in a pinch.
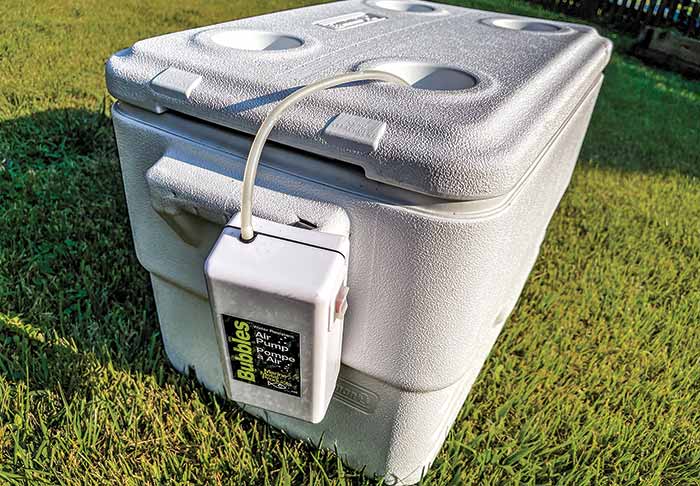
4. After letting the sealant dry, run the aerator tube into the cooler. Attach the wet side to the weighted air stone and the dry side to the pump. Set the air stone on the bottom of the cooler, and remove any excess tubing. To extend the lifespan of the livewell it's a good idea to rinse out the pump and tubing after it's been exposed to salty or turbid water.
5. Consider water recirculation. Depending on the amount and size of bait fish you have in the baitwell and the length of time you want them to survive, change some of the water from time to time. Waste from fish, particularly in a small area, can make the water toxic enough to kill the bait. You can regularly remove a bucket of water and pour in raw water from overboard. With this method, it's important to use water similar to that which the bait is accustomed and to not pour water of a different temperature or salinity in so fast that it could injure the bait.
Cleaning Your Livewell
Nobody wants to pop open the top of their livewell and get hit with a wave of offensively fishy odor, which is a distinct possibility if you don't clean it out after each use.
You can clean it as you would any cooler: with a scrub brush and some gentle soap, a 1:1 mix of distilled white vinegar and water (the acetic acid is a natural disinfectant), or using a dedicated livewell cleaner.
It's critical, however, to thoroughly rinse out the livewell afterward. Cleaners of any kind can be toxic to your next batch of baits, so make sure none gets left behind.