Advertisement
If your tow vehicle is sagging in the stern, it may be time to pump it up.
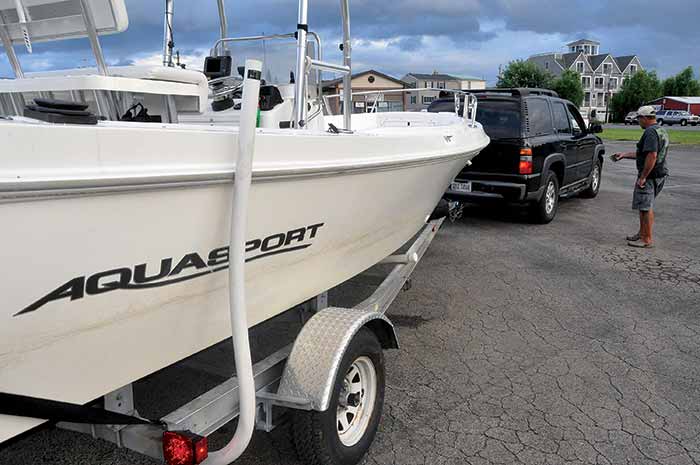
A level connection between your trailer and tow vehicle, which improves stability, is easier to achieve if you have adjustable suspension.
Rear ends have a way of sagging over time, including those on the vehicles we use to tow our boats. Signs that your vehicle may need additional support in the suspension department with a boat in tow include a visibly low rear end; headlight beams that are directed higher than normal; nose-diving when you brake or porpoising while under way; suspension that feels like it bottoms out when the vehicle passes over bumps in the road; and a ride that's generally rough, uneven, or simply uncomfortable. Abnormal tire wear also can be a sign of an overworked suspension.
Trailerable boat owners have several options for adding aftermarket load support, also known as air suspension or load leveling, to their tow vehicles. One of these might help if your tow vehicle is older and the suspension system no longer offers the spring rate it did when it was new, if the weight of the boat-and-trailer rig you tow is pushing the maximum for your vehicle's rating, or if you're limited in the ability to achieve the right tongue weight from your trailer. If you tow loads of varying weights or you want the most fuel-efficient, comfortable, and custom towing ride possible, you may also consider upgrading the suspension.
Popular aftermarket load supports include additional leaf springs; larger bump stops, or "jounce bumpers" than the ones originally installed; and air-suspension systems. Your vehicle and its suspension system may limit your options. For example, air-suspension systems are available only for tow vehicles equipped with leaf or coil springs. These systems use rubber bladders that are fitted inside the coil springs and filled with compressed air to support and cushion the load carried by the factory suspension. Increasing or decreasing the PSI with an onboard or stand-alone compressor adjusts the amount of support.
Tip
Fortunately, most popular boat-towing vehicles are candidates for air-suspension systems, which, due to their easy adjustability — even on the fly with some models — are a good choice for boaters who want to customize their towing systems. Air-suspension systems are available for everything from half-ton pickups and SUVs to 1-ton trucks. Just remember that no aftermarket load-support system increases a vehicle's tow rating or capacity, and it's extremely important to remain within those limits specified by the manufacturer.
After some research on the various air-suspension systems available, I chose an Air Lift 1000, a model designed by the Air Lift Company located in Lansing, Michigan, for use in such vehicles as our 2006 Chevy Tahoe. The SUV has more than 100,000 miles on the odometer and a suspension I suspected could use a boost when towing my 3,660-pound project boat-and-trailer rig. I selected a WirelessONE onboard compressor controlled by a key fob (also from the Air Lift Company) so I could adjust the system's PSI and, therefore, the ride while driving.
To watch and photograph what was involved in an installation, I engaged the help of a local Air Lift dealer, Funtrail Vehicle Accessories of Columbus, Ohio.
Technical Support
Difficulty: Expert
Tools & Materials:- Car jack/lift
- Drill/driver
- Wire and hose cutters
- Wire striper/crimper
- Screwdriver
- Pliers
- Test light
- Heat shrink gun
- Soapy water
- Windex
- Air Lift 1000 kit for your vehicle
- WirelessONE compressor system with remote
Time: 2 to 3 hours
Cost: Around $650, depending on vehicle
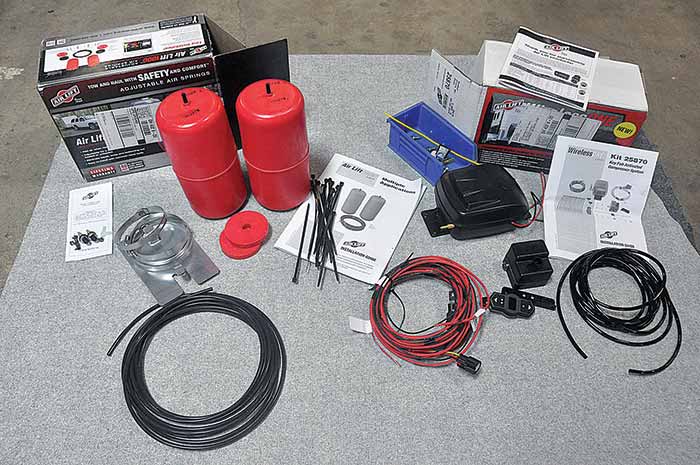
1. The contents of the Air Lift kit.
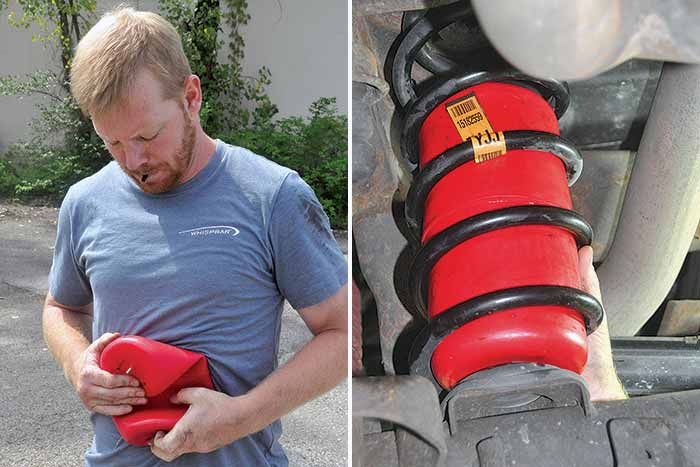
2. The first step was to raise the vehicle high enough to take the weight off the springs and allow room to safely work underneath. Once the installer had access to the rear springs, he compressed and folded the rubber bladders into a hotdog-bun shape to force them between the coils. Once inside, they were allowed to reform to their original cylindrical shape within each spring. Our tech sprayed the rubber bags with Windex to act as a lubricant when squeezing the bags between the coils.
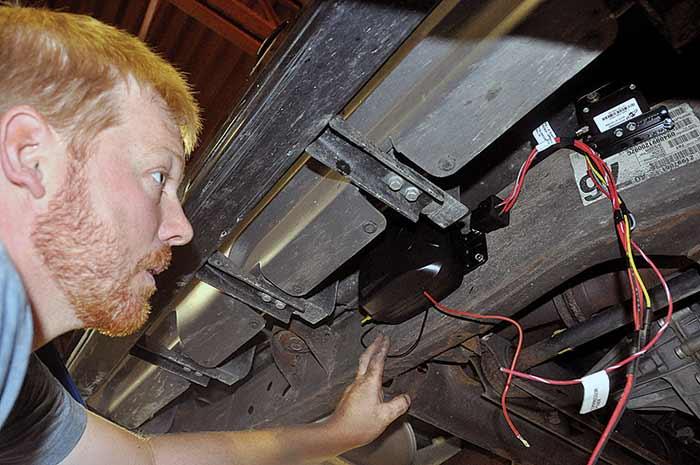
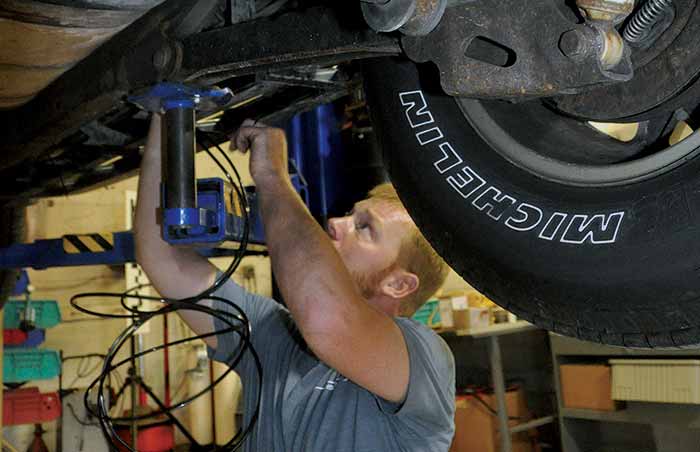
3. A location was selected to mount the manifold and compressor on the frame or a cross member. The vehicle will be used for launching and loading trailered boats, and the rear may be in closer contact with the water, so it was important to choose mounting locations farther forward on the chassis. We mounted the compressor on the side of the chassis under the passenger door side. According to Jeremy Hart, one of Air Lift's tech-support team, the components are designed to get wet, but not to be submerged for very long.
4. Protect the power wire with wire loom.
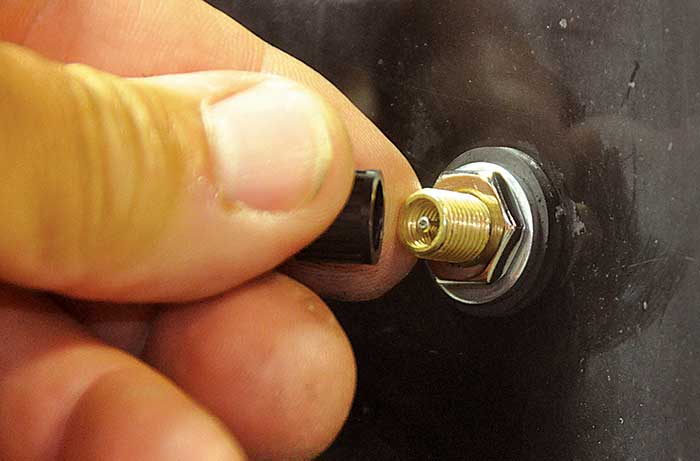
5. As a backup for filling and releasing air from the system, a manual valve on the rear bumper was installed that permits the use of a standalone compressor — or even a bicycle pump (with a lot of work!) — to pressurize the lift bags. After drilling the 5/16-inch hole in the bumper, the tech suggested dabbing paint onto the exposed metal surfaces, to prevent rust forming, before installing the valve.
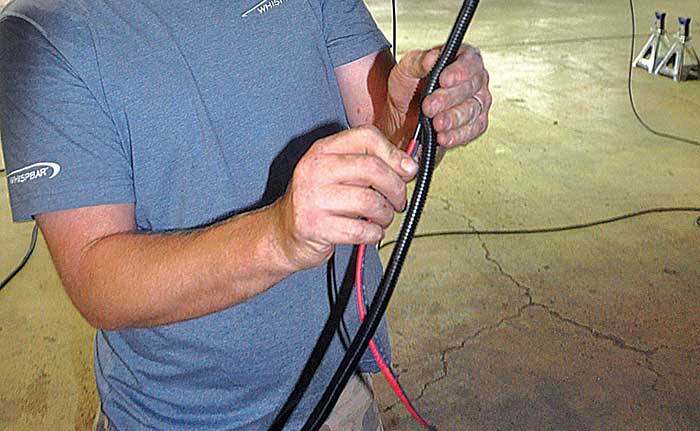
6. Next the tech attached and routed the air lines that run between the bags, the compressor, and the bumper valve. Air Lift supplies all the hardware, including spring clips, zip ties, heat-shrink tubing, and T-connectors.
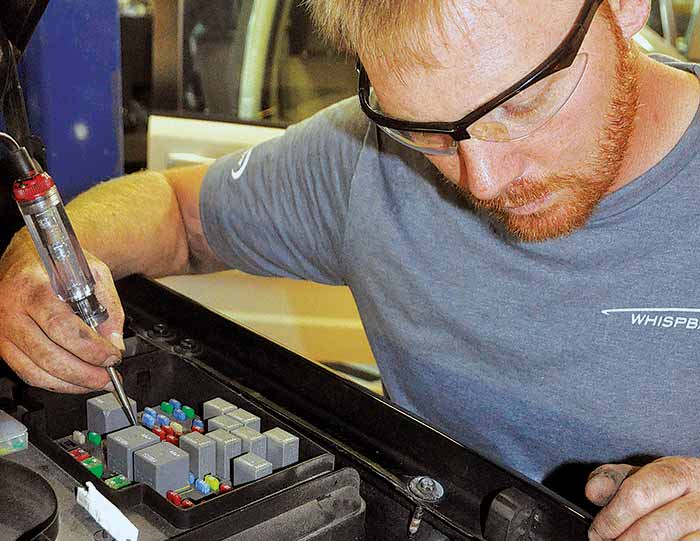
7. The compressor wiring, which has an in-line 15-amp fuse, was run to the vehicle's main fuse panel under the hood as the power source. Mine was connected to the ignition, using the 20-amp fuse tap provided, so that the compressor comes on and charges the system every time the ignition is turned on. The tech chose to cover the wiring with wire loom to encase and further protect it, and recommended following existing wire routing when possible.
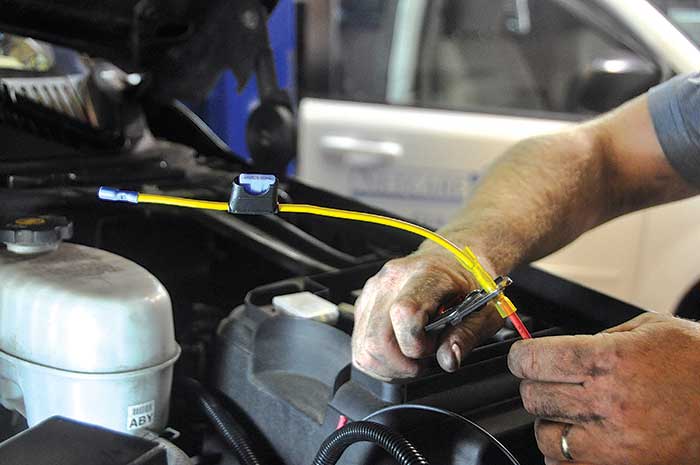
8. He next installed the in-line 15-amp fuse in the power line from compressor to fuse panel using heat-shrink connectors.
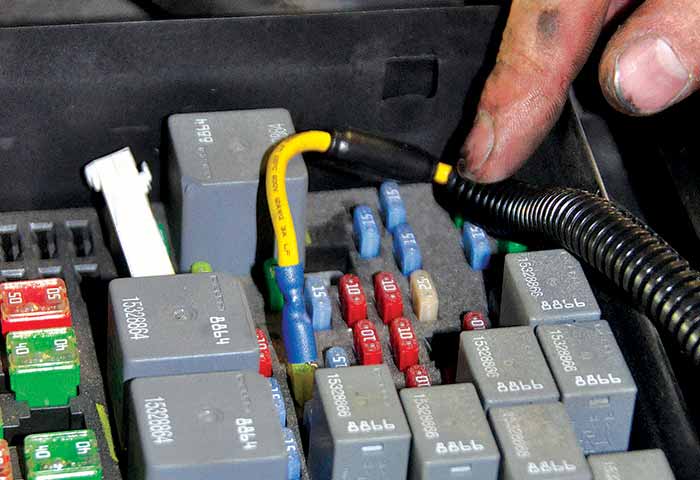
9. Then he connected the power wire to the fuse tap in the panel, turned on the ignition to activate the system, and filled the bladders with air. He looked for leaks at all connections by applying soapy water.
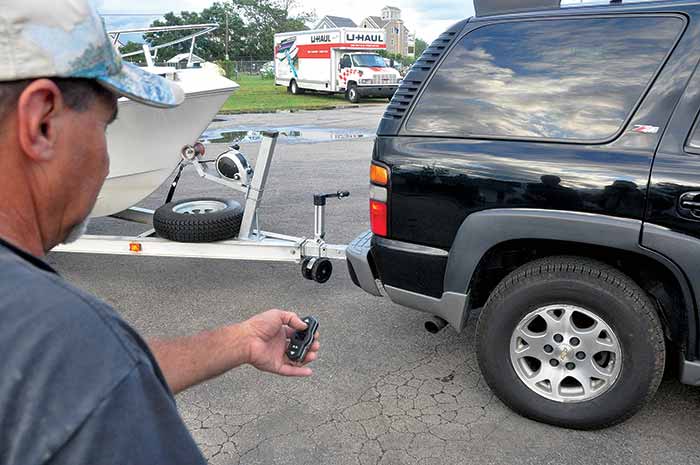
10. After lowering the vehicle to the ground, he tested for air pressure then lifted again. We then hooked up the trailer and experimented by adding and releasing air up to the maximum PSI recommended. Air Lift recommends charging the Model 1000 bladders with no more than 35 PSI, though the compressor has the capability to pump up to the 100 PSI required for other Air Lift models (the 2000 and 5000, for 3/4- and 1-ton tow vehicles).